Showing posts with label scrapbook pages. Show all posts

Monday, April 7, 2025

Make These Gorgeous Mixed Media Tags in Minutes


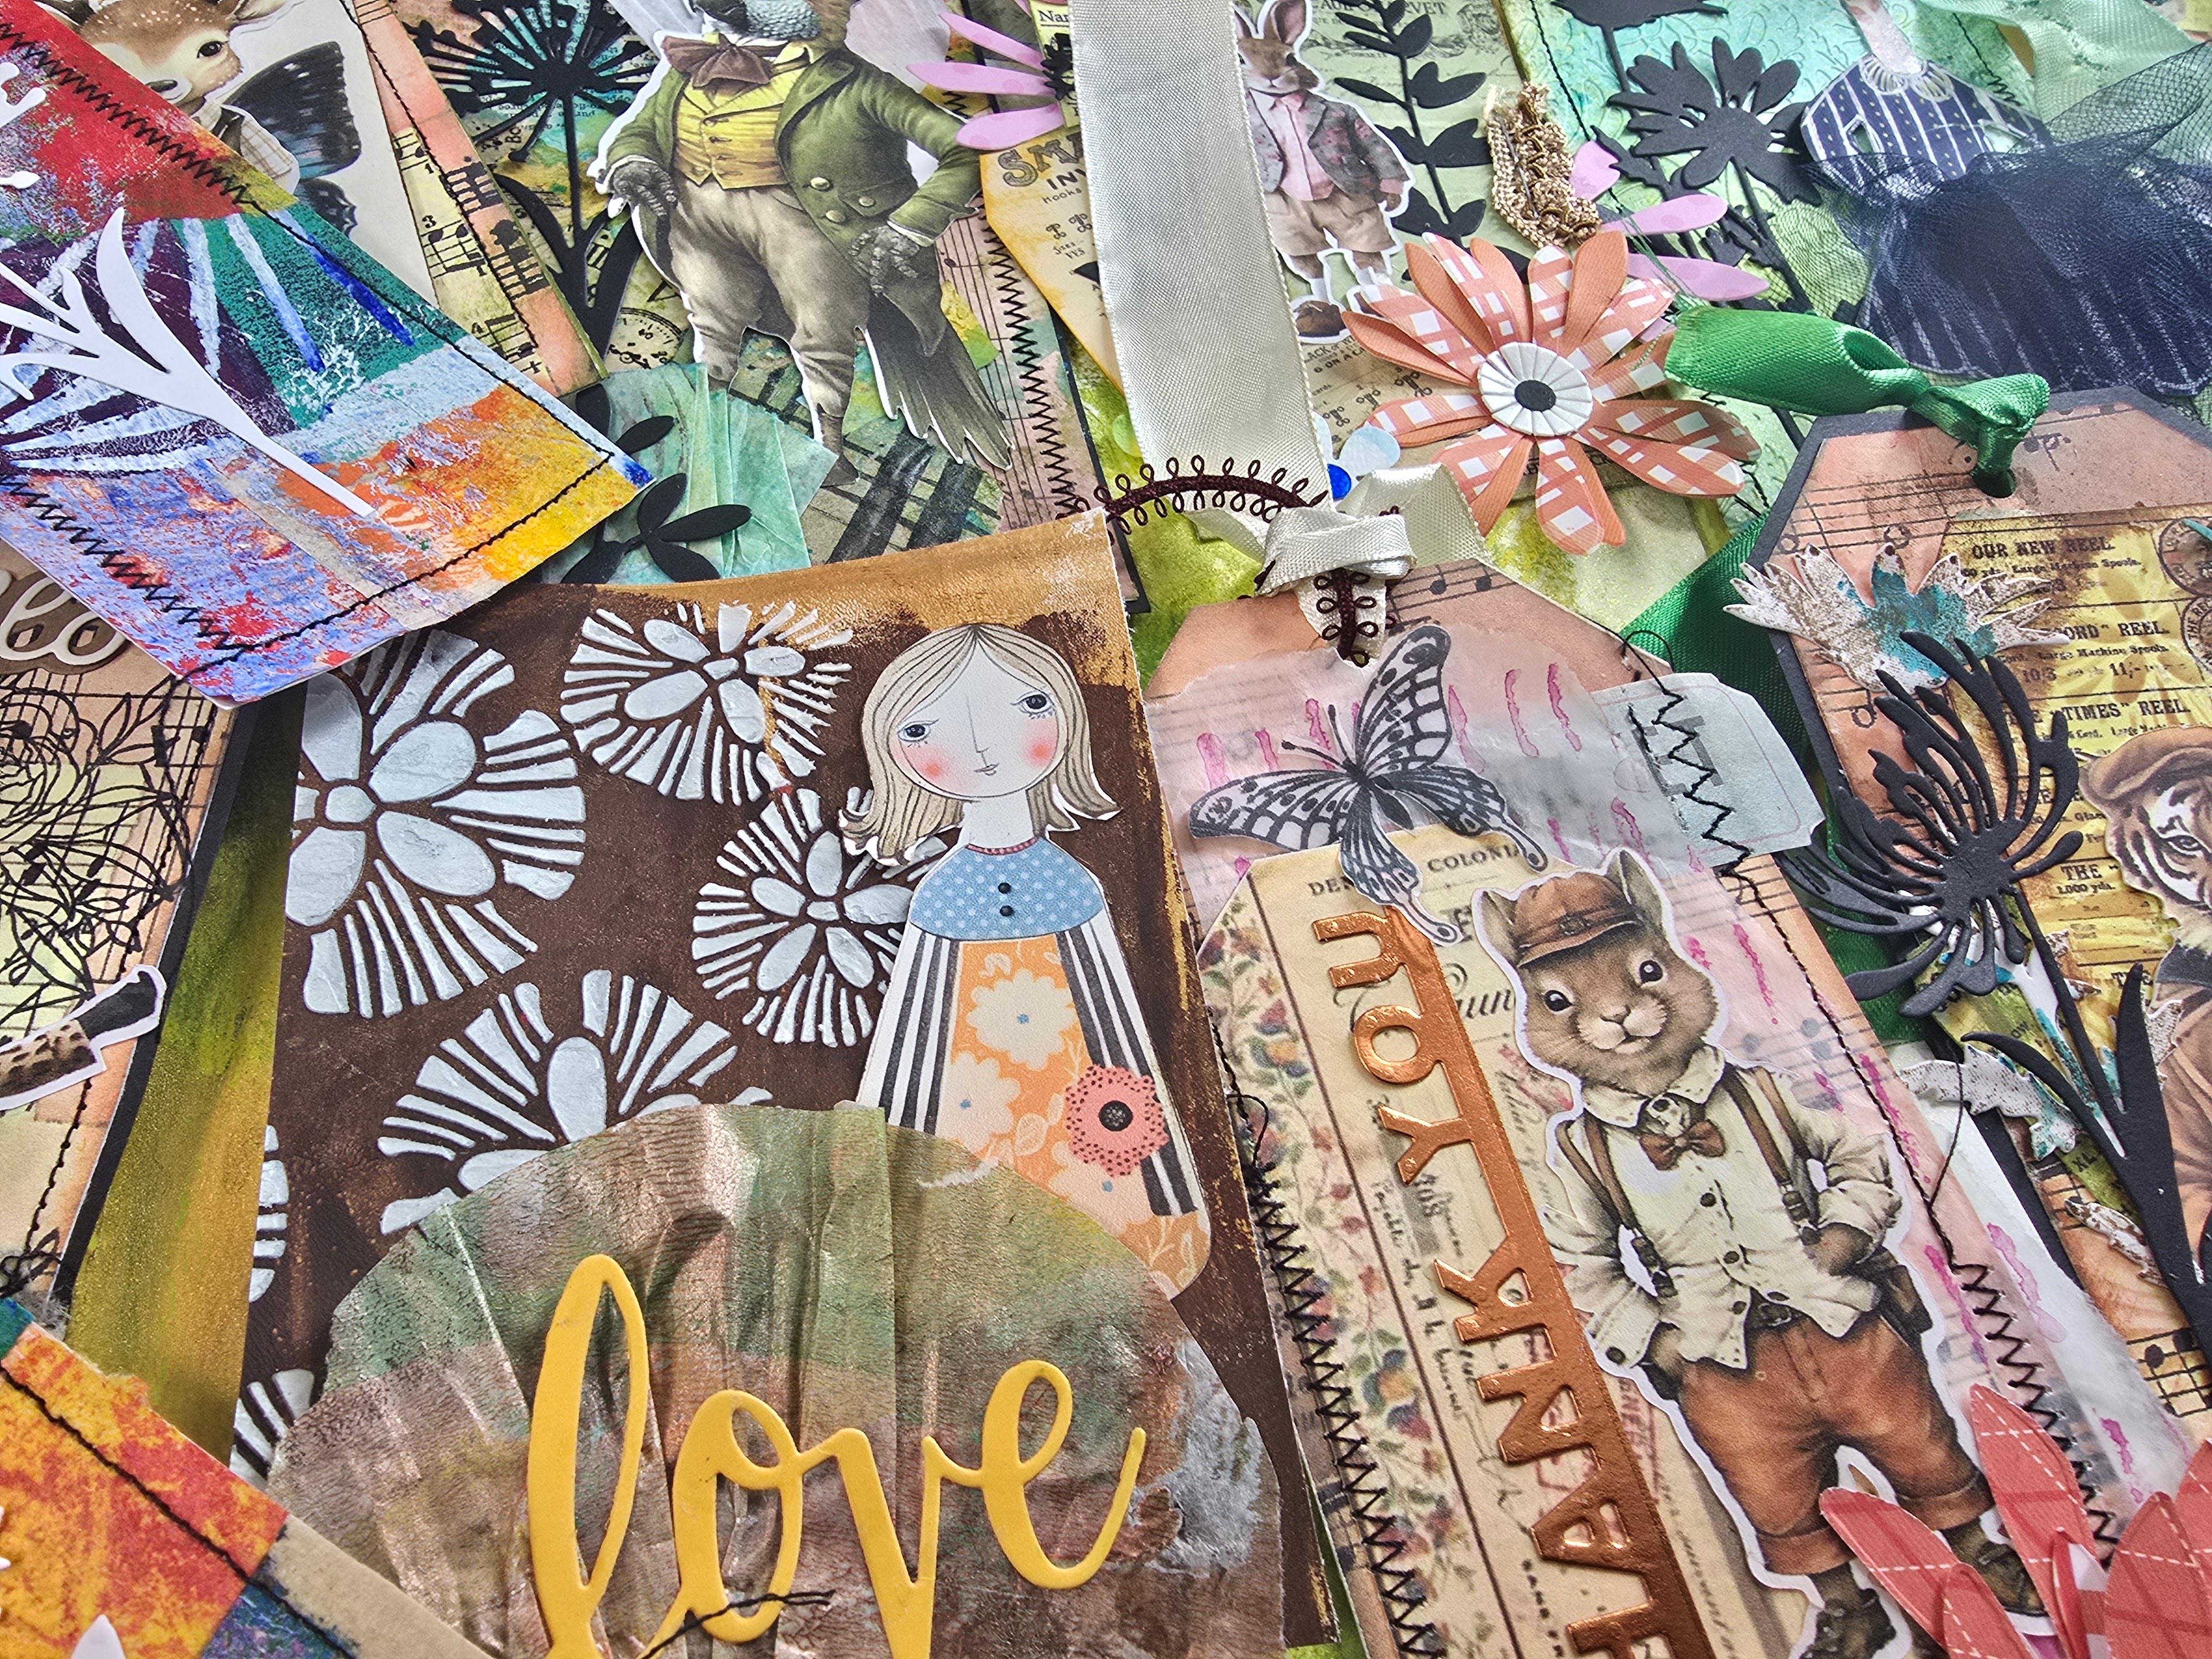
🎨 Make These Gorgeous Mixed Media Tags: A Simple & Joyful Creative Project

There’s something magical about turning bits and pieces—scraps, textures, old papers—into beautiful little works of art. That’s exactly what we’re doing today with mixed media tags!

Whether you’re new to mixed media or looking for a fun way to use up leftovers from your art table, this project is a joyful, low-pressure way to get creative.

Why Tags?

Tags are small, versatile, and just the right size to experiment without overwhelm. You can tuck them into junk journals, attach them to gifts, use them as bookmarks, or just collect them because they’re pretty!
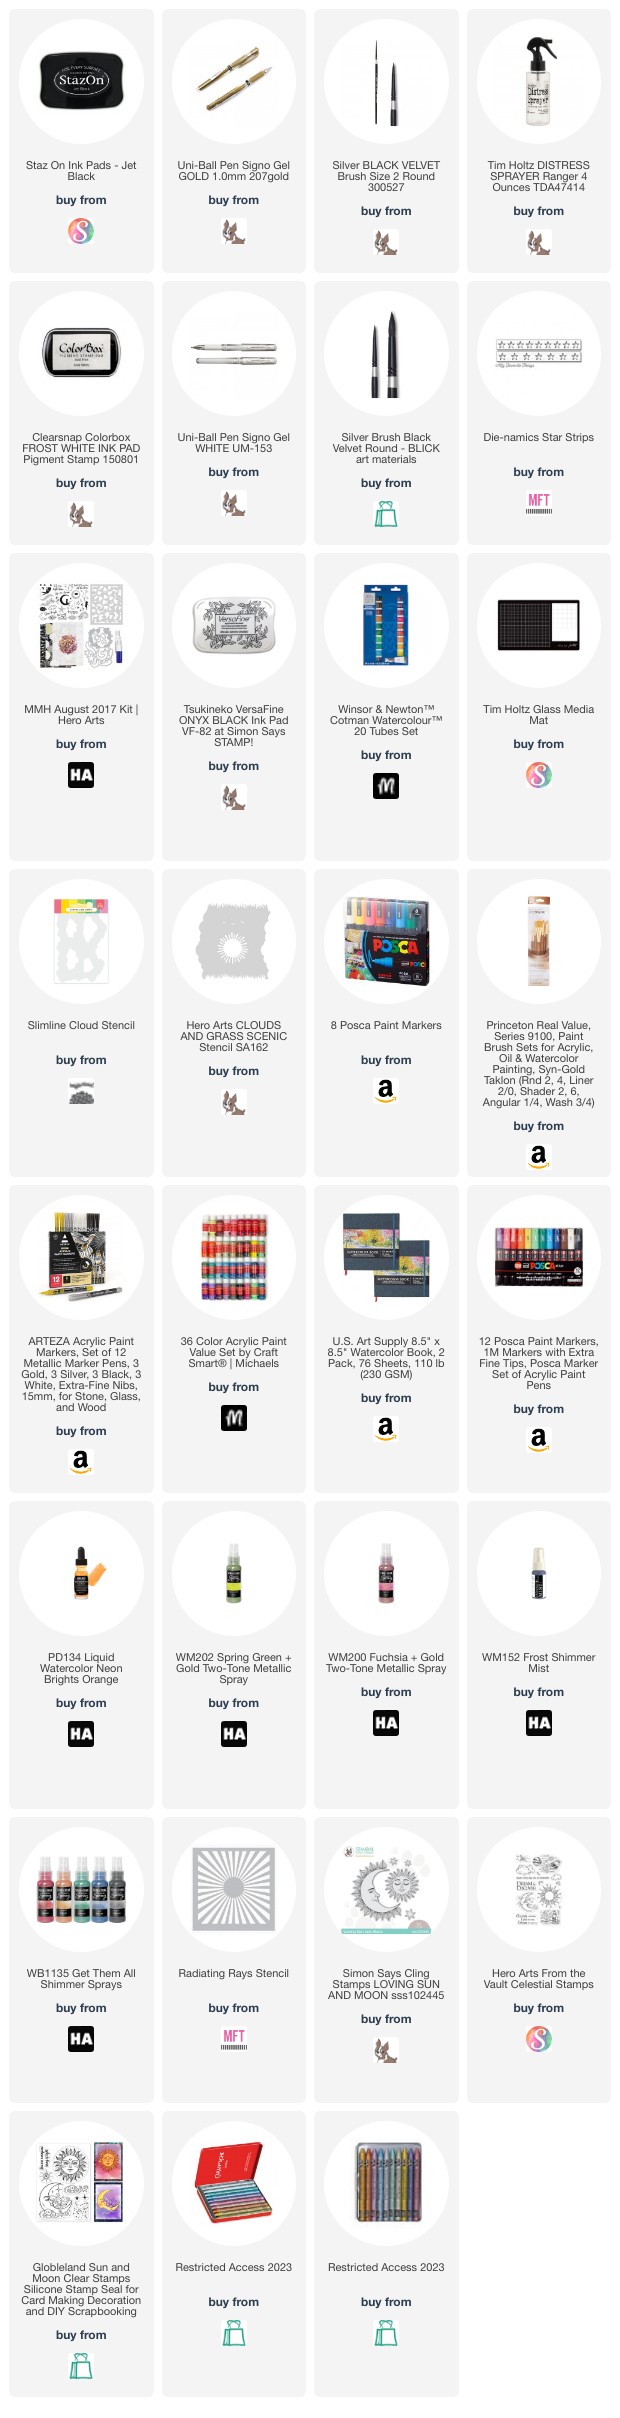
What You’ll Need:

This is a great stash-busting project. Gather whatever you have on hand, like:

  • Old book pages or scrapbook paper

  • Paints (acrylics, watercolors—anything goes!)

  • Stamps, stencils, washi tape

  • Fabric or lace scraps

  • Glue, scissors, and a hole punch

Let’s Create:

  1. Start with a base – Cut out a tag shape from sturdy paper or recycled packaging.

  2. Layer it up – Add torn paper, paint, stamping, or texture paste. Play with color and shape.

  3. Add details – Think stitching, buttons, or a small quote. The charm is in the little things.

  4. Finish it off – Punch a hole at the top and thread a ribbon or twine through.

The best part? There’s no right or wrong. Each tag becomes its own little story.

Creative Tips:

✨ Try a theme—like vintage, floral, or seasonal.
✨ Use your tags to test new techniques or color combos.
✨ Make a bunch and bundle them as a handmade gift.


Want to see the full process in action?
👉 Watch the video tutorial here!


Final Thoughts:

Mixed media tags are a quick, satisfying creative escape, perfect for those moments when you just want to make something. So pull out your scraps, pour a cup of tea, and let your hands do the magic.

Tag me if you try this—I’d love to see what you create! 💖

#MixedMedia #CreativeReuse #DIYTags #JunkJournaling #MixedMediaArt #ScrappyCrafts


Thursday, January 16, 2025

Capture Your Winter Wonderland Memories: The Ultimate Snow Day Photo Album!


Capture Your Winter Wonderland Memories: The Ultimate Snow Day Photo Album!


Capture Your Winter Wonderland Memories: A DIY Snow Day Paper Photo Album Tutorial

Preserving your snow day memories in a handmade paper photo album is a creative and personal way to cherish those magical moments. Follow this step-by-step guide to craft your own photo album and stick your photos in style!


What You’ll Need

  • Photos of Your Snow Day: Printed in various sizes for variety.
  • Cardstock or Thick Paper: For the pages of your album.
  • Decorative Paper: For the cover or embellishments.
  • Glue Stick or Double-Sided Tape: For sticking your photos.
  • Scissors or Craft Knife: To trim photos and paper.
  • Hole Punch and Ribbon/String: For binding the album.
  • Markers, Stickers, and Washi Tape: For decoration.
  • Optional: Stamps, glitter, or pressed leaves for extra flair.

Step 1: Create the Album Pages

  1. Cut the Cardstock: Decide on the size of your album (e.g., 6x6 inches or 8x10 inches) and cut your cardstock accordingly.
  2. Prepare Enough Pages: Include enough sheets for all your photos, plus a few extra for decorative title or memory pages.

Step 2: Design the Cover

  1. Use thicker paper or cardboard for the cover.
  2. Decorate it with winter-themed stickers, handwritten titles like "Snow Day Memories", or cutouts from decorative paper.
  3. Add the date of your snow day for a personal touch.

Step 3: Bind the Album

  1. Punch two or three evenly spaced holes along the left side of your pages and cover.
  2. Thread ribbon or string through the holes and tie securely. Adjust the tightness to ensure the album can open and close easily.

Step 4: Arrange and Stick Your Photos

  1. Plan the Layout: Before gluing, lay out your photos on each page to decide on the arrangement.
  2. Stick Photos: Use a glue stick or double-sided tape to attach the photos to the pages. Ensure they’re firmly secured.
  3. Leave space for captions or decorative elements around each photo.

Step 5: Add Personal Touches

  1. Write captions under the photos to describe the moment or your feelings.
  2. Use washi tape to frame photos or create borders.
  3. Add stickers, glitter, or small pressed leaves for a wintery vibe.
  4. Create themed pages, such as "Building a Snowman" or "Sledding Adventures."

Step 6: Include Memory Pages

Dedicate a few pages to other snow day memorabilia:

  • Quotes or Journal Entries: Write about what made the day special.
  • Small Keepsakes: Attach items like a piece of ribbon from your winter scarf or a drawing from a child.
  • Decorative Sections: Use stamps, doodles, or printed winter illustrations.

Step 7: Final Touches

  1. Flip through the album to ensure everything is secure.
  2. Add any final decorations to the cover or inside pages.
  3. Tie the ribbon or string tightly, and trim any excess for a neat finish.

Why Make a Paper Photo Album?

A paper photo album is more than just a place to store pictures—it’s a personalized keepsake that reflects your creativity and the joy of your snow day. Unlike digital albums, this tactile experience brings memories to life every time you turn the pages.

So, gather your supplies, print those snowy snapshots, and start crafting your ultimate snow day photo album. Your winter wonderland memories deserve to shine!

What’s your favorite way to decorate a photo album? Share your tips in the comments!


 Happy creating, and don’t forget to let your imagination grow! 🍄✨

Follow me on InstagramFacebookPinterest, and YouTube

I get asked a lot about where to purchase the supplies I use in my videos and blog posts. I list all the supplies I use at the end of my posts (below) 

SUPPLIES

Monday, January 22, 2024

"Mixed Media Exploration: Integrating Innovative Painting into Your Journal"

 - Description: Explore the world of mixed media art and discover how innovative painting can transform your journal's pages.

Mixed Media Exploration: Integrating Innovative Painting into Your Journal

Are you ready to embark on a creative journey that will transform your art journaling experience? In today's blog post, we're diving deep into the exciting world of mixed media art and exploring how innovative painting techniques can breathe new life into the pages of your journal.


The Art of Mixed Media Exploration


Mixed media art is a captivating and versatile form of artistic expression that encourages artists to blend various materials, textures, and techniques to create visually stunning compositions. It's a playground of creativity where the only limit is your imagination. Whether you're an experienced artist or a beginner, mixed media offers endless opportunities for experimentation and self-expression.


Integrating Innovative Painting Techniques


One of the most intriguing aspects of mixed media art is the integration of innovative painting techniques. This is where your journal comes to life with bursts of color, texture, and depth. Innovative painting techniques go beyond traditional brushwork, allowing you to explore new ways of applying paint, creating textures, and achieving captivating effects.


Transforming Your Journal's Pages


Your journal is more than just a collection of blank pages; it's a canvas waiting to be transformed into a visual masterpiece. When you integrate innovative painting techniques into your journaling practice, you breathe life into each page, turning them into unique works of art. From vibrant backgrounds to intricate details, every stroke of the brush or application of mixed media materials adds depth and dimension to your creations.


Why You Should Explore Innovative Painting


So, why should you explore innovative painting in your art journaling? Here are a few compelling reasons:


Unleash Your Creativity: Innovative painting techniques encourage you to break free from conventional methods and let your creativity run wild.


Express Emotions: Art journaling with innovative painting allows you to express your thoughts, feelings, and emotions in a visual and therapeutic way.


Experimentation: Explore new painting materials, unconventional tools, and exciting textures to expand your artistic repertoire.


Unique Personal Style: Incorporating innovative painting into your journaling can help you develop a unique artistic style that sets your work apart.


Endless Inspiration: The world of mixed media and innovative painting is full of inspiration. You'll never run out of ideas for your journal.


Mixed media exploration and innovative painting can open up a world of artistic possibilities in your art journaling journey. So, grab your journal, gather your paints, and let your creativity flow. Your journal's pages are waiting to become a beautiful, one-of-a-kind masterpiece.


If you're eager to learn more about integrating innovative painting techniques into your journaling, stay tuned for our upcoming video tutorial, "Mixed Media Exploration: Integrating Innovative Painting into Your Journal." In the meantime, gather your art supplies and get ready to embark on a creative adventure like no other.


Happy journaling, and may your art be a reflection of your unique, artistic soul.

you can see the product details below same time the similar dies whichever you have you can mix and match to do these techniques.

THANK YOU FOR, SUBSCRIBING AND APPRECIATING. Feel free to share this post on social media using the share!

Follow me on InstagramFacebookPinterest, and YouTube,


SUPPLIES

Wednesday, January 17, 2024

Unleashing The Magic: Create Your Own Disney Scrapbook Layouts And Relive Pure Joy! PAGE2


 Creating a Disney scrapbook is a wonderful way to preserve magical memories and capture the enchantment of your Disney experiences. Whether you're documenting a trip to Disneyland, Walt Disney World, or any other Disney destination, here are some creative scrapbook page ideas to make your Disney memories last a lifetime:


Title Page: Magical Beginnings

Start your Disney scrapbook with a captivating title page. Use vibrant colors, iconic Disney fonts, and embellishments like stars, castle silhouettes, or magic wands. Include a quote like "Where Dreams Come True" to set the tone.


Character Meet-and-Greet Collage

Showcase the joy of meeting Disney characters by creating a collage of photos with your favorite princesses, heroes, and beloved characters. Add autographs, character quotes, and themed borders to enhance the magic.


Park Maps and Tickets Spread

Include copies of park maps, tickets, and FastPasses to highlight the planning aspect of your Disney adventure. Arrange them creatively, perhaps in the shape of Mickey ears or a castle.


Ride Highlights Pages

Dedicate pages to your favorite rides and attractions. Include photos of your group enjoying the thrills, along with ride names, wait times, and memorable moments. Use themed backgrounds and stickers to enhance each page.


Foodie Adventures

Document your culinary journey with pages dedicated to Disney treats and meals. Include photos of delicious snacks, character dining experiences, and themed restaurants. Don't forget to add your reviews and recommendations.


Parade and Show Extravaganza

Capture the magic of parades and shows with vibrant pages filled with images of floats, performers, and your family enjoying the entertainment. Add captions and decorative elements that reflect the excitement of the moment.


Magical Nighttime Spectacles

Showcase the enchanting nighttime shows, fireworks, and light displays with glittering and starry backgrounds. Use glow-in-the-dark embellishments or stickers to recreate the magic of these nighttime spectacles.


Hidden Mickeys Scavenger Hunt

Create a fun scavenger hunt within your scrapbook by including photos of hidden Mickeys you discovered throughout the parks. Challenge your readers to find them all by adding clues and hints.


Disney Outfit of the Day

Devote a page or two to the outfits you and your companions wore each day. Include photos of Disney-themed clothing, accessories, and even matching outfits. Share where you purchased or made each item.


Closing Page: "See Ya Real Soon!"

End your Disney scrapbook with a heartfelt closing page. Use a mix of photos, quotes, and well-wishes to convey the joy of your Disney adventure. Add a "See Ya Real Soon" message to leave your readers with a smile.


Remember to personalize each page with your unique style and preferences. Use a variety of Disney-themed papers, stickers, and embellishments to make your scrapbook truly magical. Happy scrapping!

you can see the product details below same time the similar dies whichever you have you can mix and match to do these techniques.

THANK YOU FOR, SUBSCRIBING AND APPRECIATING. Feel free to share this post on social media using the share!

Follow me on InstagramFacebookPinterest, and YouTube,


SUPPLIES


Monday, January 15, 2024

"From Park to Page: Transforming Disney Memories into Scrapbook Art!"PAGE 1


 Creating a Disney scrapbook page can be a delightful way to preserve magical memories. Whether you're capturing moments from a trip to a Disney theme park, a character meet-and-greet, or simply celebrating your love for Disney at home, here are some creative ideas for your Disney scrapbook page:


Magical Borders:

Frame your photos with magical borders featuring iconic Disney elements such as Mickey ears, castles, or Disney character silhouettes. You can find themed border stickers or create your own with Disney-themed paper punches.


Character Collage:

Dedicate a section of your page to a collage of your favorite Disney characters. Cut out images from magazines, use stickers, or print them from online sources. Arrange them in a visually appealing way to showcase the variety of characters you encountered.


Ticket Stub Pocket:

If you have ticket stubs or special event passes from your Disney visit, create a pocket on your page to hold them. This adds a tactile element to your scrapbook and keeps those special mementos safe.


Hidden Mickeys:

Incorporate hidden Mickeys into your design. Whether it's with embellishments, stickers, or even drawing them yourself, this subtle touch adds an extra layer of Disney magic to your page.


Themed Backgrounds:

Choose background papers that match the theme of your Disney experience. Whether it's a tropical setting for a Moana-themed page or starry skies for a Space Mountain adventure, setting the scene enhances the overall look.


Quotes and Song Lyrics:

Include quotes from your favorite Disney movies or lyrics from Disney songs. Use decorative fonts or stickers to make them stand out. It adds a touch of storytelling to your scrapbook.


Interactive Elements:

Make your scrapbook interactive by adding flaps, pockets, or pop-ups. This could reveal hidden photos, additional journaling, or even surprise elements like confetti or glitter.


Autograph Page:

If you had the chance to get character autographs, dedicate a page to showcase them. Leave enough space for the autographs and include photos of the characters with their signatures.


Timeline Layout:

Arrange your photos in a timeline format to capture the chronological order of your Disney adventure. This is a great way to tell a story visually.


Color Scheme:

Stick to a specific color scheme that reflects Disney's magic. Classic red, black, and yellow (Mickey Mouse colors) or pastels can tie your page together and make it visually appealing.


Remember, the key to a great Disney scrapbook page is to have fun and let your creativity flow. Whether you're a seasoned scrapbooker or a beginner, your love for Disney will shine through in your unique creation. Happy scrapping!

you can see the product details below same time the similar dies whichever you have you can mix and match to do these techniques.

THANK YOU FOR, SUBSCRIBING AND APPRECIATING. Feel free to share this post on social media using the share!

Follow me on InstagramFacebookPinterest, and YouTube,


SUPPLIES