What are some tips for packing embroidery supplies for air travel
Here are some expert tips for packing embroidery supplies
for air travel:
Packing Tips for Embroidery Supplies on Airplanes
Use TSA-approved travel scissors: Choose small scissors
under 6 inches like Fiskars folding travel scissors or thread snips with blunt
tips, which are less likely to be confiscated at security.
Carry extra needles and use a magnetic needle minder:
Pre-thread several needles and keep them secure in a needle case or with a
magnetic needle minder to avoid losing them during the flight.
Organize floss and tools in compact containers: Use small
hinged tins or thread storage boxes to keep floss, needles, and tools tidy and
easy to access in your carry-on.
Prepare your project before travel: Cut fabric to size,
transfer patterns, wind thread on bobbins, and stretch fabric in your hoop at
home to minimize what you need to bring and simplify stitching on the plane.
Pack a project pouch: An A5-sized pouch can hold a 5-inch
hoop, fabric, thread, and tools, keeping everything organized and portable.
Select projects with similar color palettes and only bring
the thread you need: This reduces the amount of floss you carry and allows you
to switch between projects without overpacking.
Be mindful of airline restrictions: Check airline and TSA
rules about scissors and sharp objects before packing. Some travelers carry
scissors they are willing to part with if confiscated or use alternative thread
cutters.
Use a drawstring bag or scrappy project bag: These provide
secure, attractive storage that prevents supplies from spilling in your
carry-on.
Consider thread gloss for easier needle threading:
Especially useful when wearing a mask on the plane, thread gloss helps tame
floss ends for easier threading without needing to put your mask down.
Keep metal items visible and separate: Store scissors,
needles, and other metal bits in a clear bag or separate container to ease TSA
inspections and avoid delays.
Summary
Pack a compact, well-organized kit with TSA-compliant
scissors or snips, extra needles secured with a magnetic minder, pre-prepped
fabric and thread, and use small tins or pouches for easy access. Always check
airline restrictions beforehand and consider alternatives like thread gloss and
thread cutters to streamline your travel embroidery experience. This approach
ensures smooth security checks and enjoyable stitching during your flight
TRAVEL EMRODARY KIT DOS AND DON'TS
ane seats or car rides
Don'ts
for a Travel Embroidery Kit
Don’t start stitching without a hoop: Stitching without a hoop can lead to uneven tension and puckered
fabriC
Don’t bring too many supplies: Avoid overpacking; bring only what you need to save space and
reduce frustration
Don’t use blunt or old needles: These can damage fabric and thread, making stitching harder and
less enjoyable
Don’t lose your needles: Losing needles while traveling can be stressful and dangerous, so
always store them securely and put them back in their case when not in use
Don’t rely on flimsy storage: Avoid using ziplock bags alone as they may not be durable or secure
enough; instead, use sturdy project bags or tins
Summary
A well-prepared travel embroidery kit should be
compact, organized, and secure, including a small hoop, sharp needles, selected
floss, fabric pre-cut and pressed, travel-friendly scissors, and a reliable
storage solution. Prepare as much as possible before leaving home to maximize
stitching time and minimize hassle. Secure needles carefully to avoid loss or
injury, and pack only what you need to keep your kit manageable and enjoyable
on the go
What are some
alternatives to traditional scissors for travel
Here are some practical alternatives to traditional scissors
for travel embroidery and needlework:
Thread snips: Small, spring-loaded thread snips are popular
for travel because they are compact and easy to use for quick thread trimming.
They often have a blade length short enough to pass TSA screening and are less
likely to be confiscated.
Fingernail clippers: Many travelers use fingernail clippers
to cut threads or small ties, especially when scissors are not allowed.
Clippers without attached files are less likely to be confiscated and can serve
as a handy cutting tool.
Small folding scissors: While technically scissors, tiny
folding scissors (like Dritz travel scissors) fold to a compact size and are
often allowed in carry-on luggage. However, confiscation can be random, so it’s
best not to bring expensive or irreplaceable pairs.
Thread cutters worn as pendants: Some thread cutters are
designed as pendants or keychains with a small blade inside a protective
housing, making them travel-friendly and easy to carry around the neck.
Dental floss containers with built-in cutters: These can be
used to snip threads and are generally TSA-friendly since they are not
traditional cutting tools.
Using larger tapestry needles as laying tools: For certain
tasks like flattening threads, a larger needle can substitute for specialized
tools that might not be allowed in carry-on bags.
In summary, thread snips and fingernail clippers are the
most common and TSA-friendly alternatives to traditional scissors for travel
embroidery. Small folding scissors and pendant-style thread cutters are also
options but may carry some risk of confiscation depending on airport security.
Packing inexpensive or replaceable cutting tools minimizes loss risk during air
travel.
WHAT IS DIFFERENCE BETWEEN SLOW STICHING AND EMRODORY
The difference between slow stitching and embroidery lies
primarily in their purpose, approach, and mindset:
Embroidery
Embroidery is the general art or craft of decorating fabric
or other materials with needle and thread or yarn, often to create detailed,
decorative patterns or images.
It can be done by hand or machine and typically aims for a
polished, finished product, often with precise and sometimes complex stitches.
Embroidery is focused on embellishment and can include a
wide range of techniques and styles, often emphasizing skill and aesthetics.
Slow Stitching
Slow stitching is a mindful, meditative practice that
emphasizes the process of stitching rather than the finished product.
It involves hand stitching in a relaxed, unhurried way,
often using simple running stitches or freeform stitches, and embracing
imperfections.
Rooted in traditions like Japanese Boro and Sashiko, slow
stitching encourages connection to the moment, mindfulness, creativity, and
sustainability by using scraps or mending existing fabrics.
The goal is to slow down, enjoy the tactile experience, and
find calm and presence through stitching, rather than focusing on perfection or
complexity.
Slow stitching is often described as a spiritual or wellness
practice, fostering self-awareness and emotional benefits through intentional,
slow creativity.
Summary Table
Aspect Embroidery Slow Stitching
Purpose Decorative
embellishment Mindful,
meditative stitching process
Focus Finished
product and design precision Process,
mindfulness, and imperfection
Techniques Wide
range, often intricate Simple
running stitches, freeform
Tools Hand or
machine needle, varied stitches Mainly
hand stitching with simple stitches
Materials New
or chosen fabrics and threads Often
uses scraps, recycled fabrics
Mindset Skill
and aesthetics Relaxation,
presence, creativity
In essence, embroidery is the broader craft of decorative
stitching, while slow stitching is a contemporary movement and philosophy that
values the mindful, slow, and imperfect act of hand stitching as a form of
meditation and creative expression
Happy creating, and don’t forget to let your imagination grow! 🍄✨
Follow me on Instagram, Facebook, Pinterest, and YouTube,!
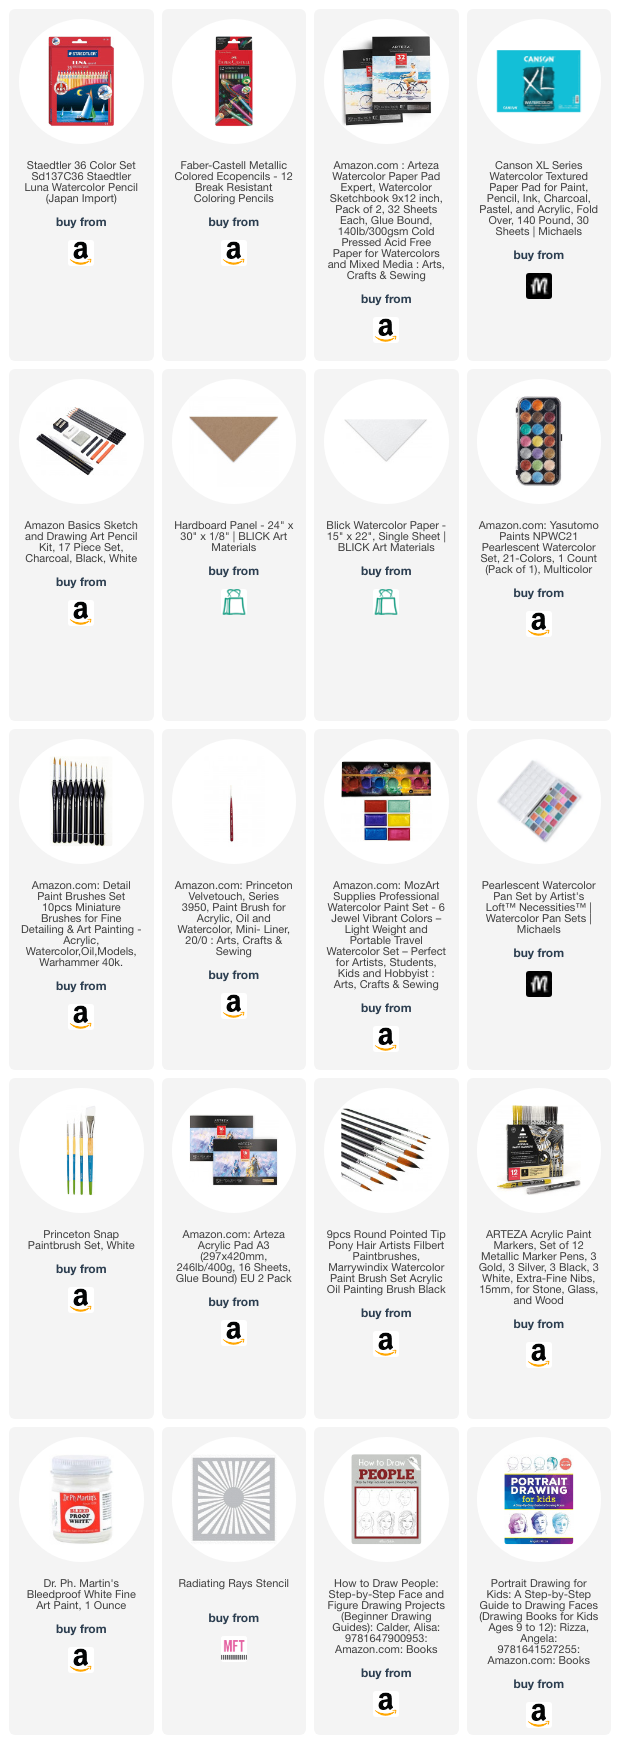
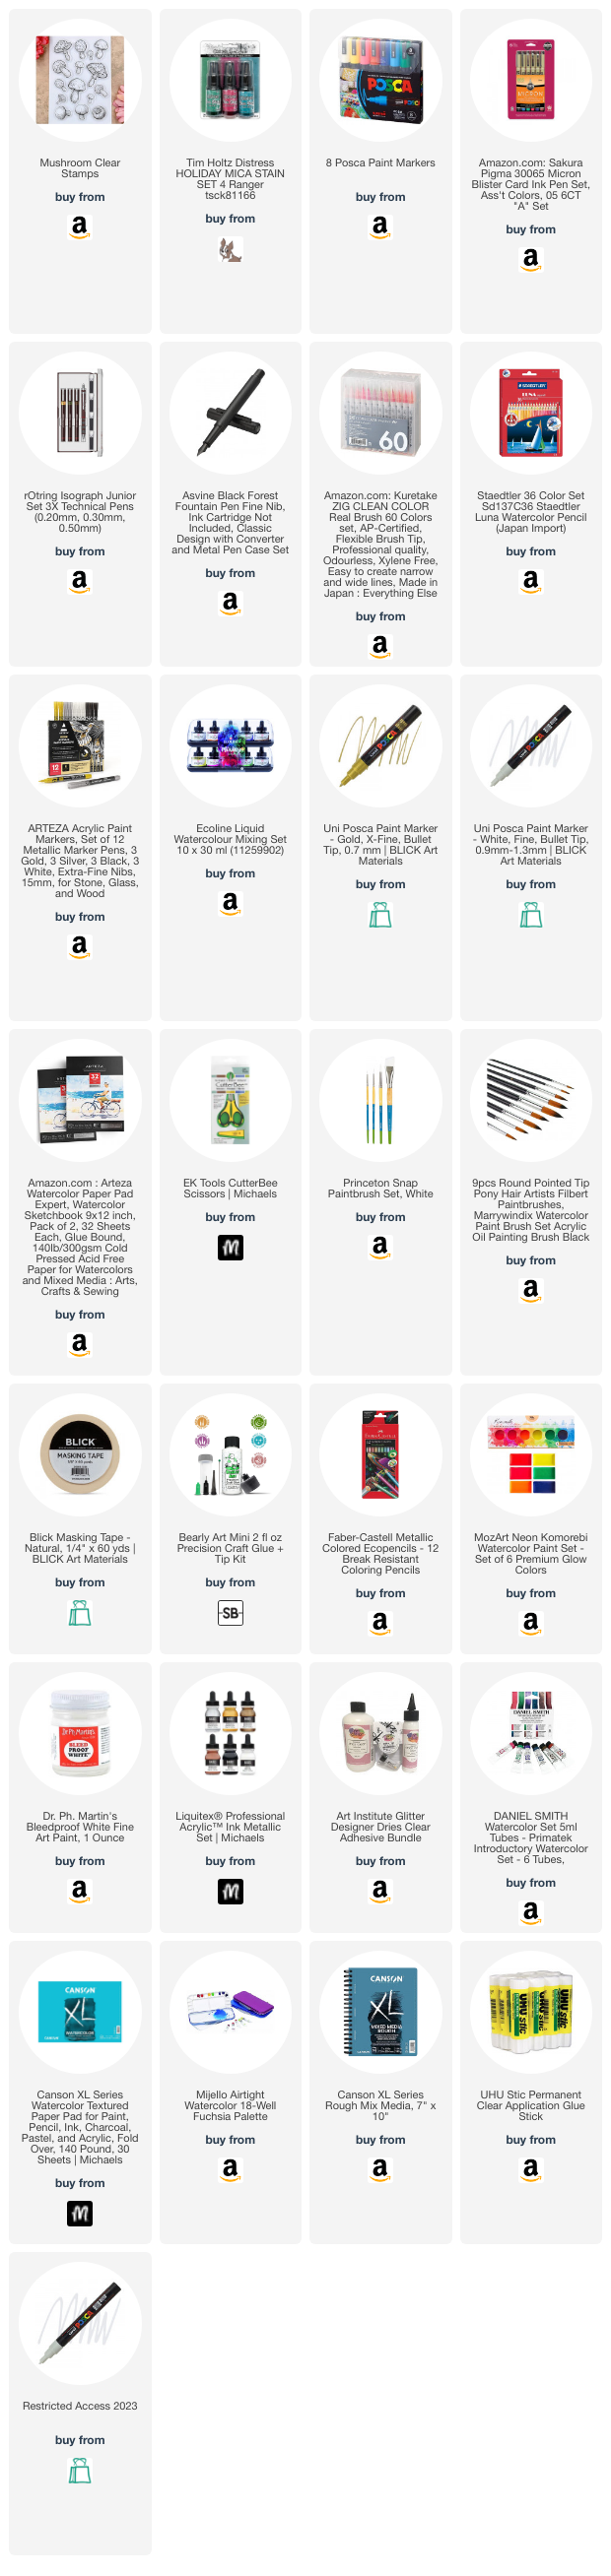
I get asked a lot about where to purchase the supplies I use in my videos and blog posts. I list all the supplies I use at the end of my posts (below)


.jpg)
.jpg)
.jpg)


