Embracing Gratitude: A Journey Through Mixed Media Art Journaling
In a world filled with hustle and bustle, it's easy to lose sight of the little moments of joy and appreciation that make life truly meaningful. However, amidst the chaos, there exists a powerful tool for cultivating gratitude and mindfulness: mixed media art journaling. Join us on a journey of self-discovery and creativity as we explore the transformative practice of expressing gratitude through mixed media art journaling.
Mixed media art journaling is a versatile and therapeutic form of creative expression that combines various art mediums, including paints, inks, stamps, stencils, and more. What makes it truly special is its ability to serve as a canvas for capturing moments of gratitude and reflection.
Through the process of art journaling, we can tap into our inner creativity and express ourselves in ways that words alone cannot convey. Whether it's doodling, painting, collaging, or incorporating found objects, the possibilities are endless.
One of the key benefits of mixed media art journaling is its ability to slow down and be present in the moment. As we immerse ourselves in the creative process, we become more attuned to the beauty that surrounds us and the blessings that fill our lives.
Moreover, the act of expressing gratitude through art journaling can have profound effects on our well-being. Studies have shown that practicing gratitude can lead to increased happiness, reduced stress levels, and improved overall mental health. By incorporating gratitude into our art journaling practice, we not only create beautiful works of art but also nourish our souls and cultivate a deeper sense of appreciation for life's blessings.
Conclusion: In a world that often seems to prioritize speed and productivity over mindfulness and gratitude, mixed media art journaling offers a sanctuary for slowing down, being present, and embracing the beauty of the present moment. Whether you're a seasoned artist or just starting out, I encourage you to embark on your own journey of gratitude through art journaling. Allow yourself to explore, experiment, and express gratitude in whatever way feels most authentic to you. You may be surprised by the profound impact it can have on your life. So pick up your journal, gather your art supplies, and let's embark on this beautiful journey of self-discovery and gratitude together.
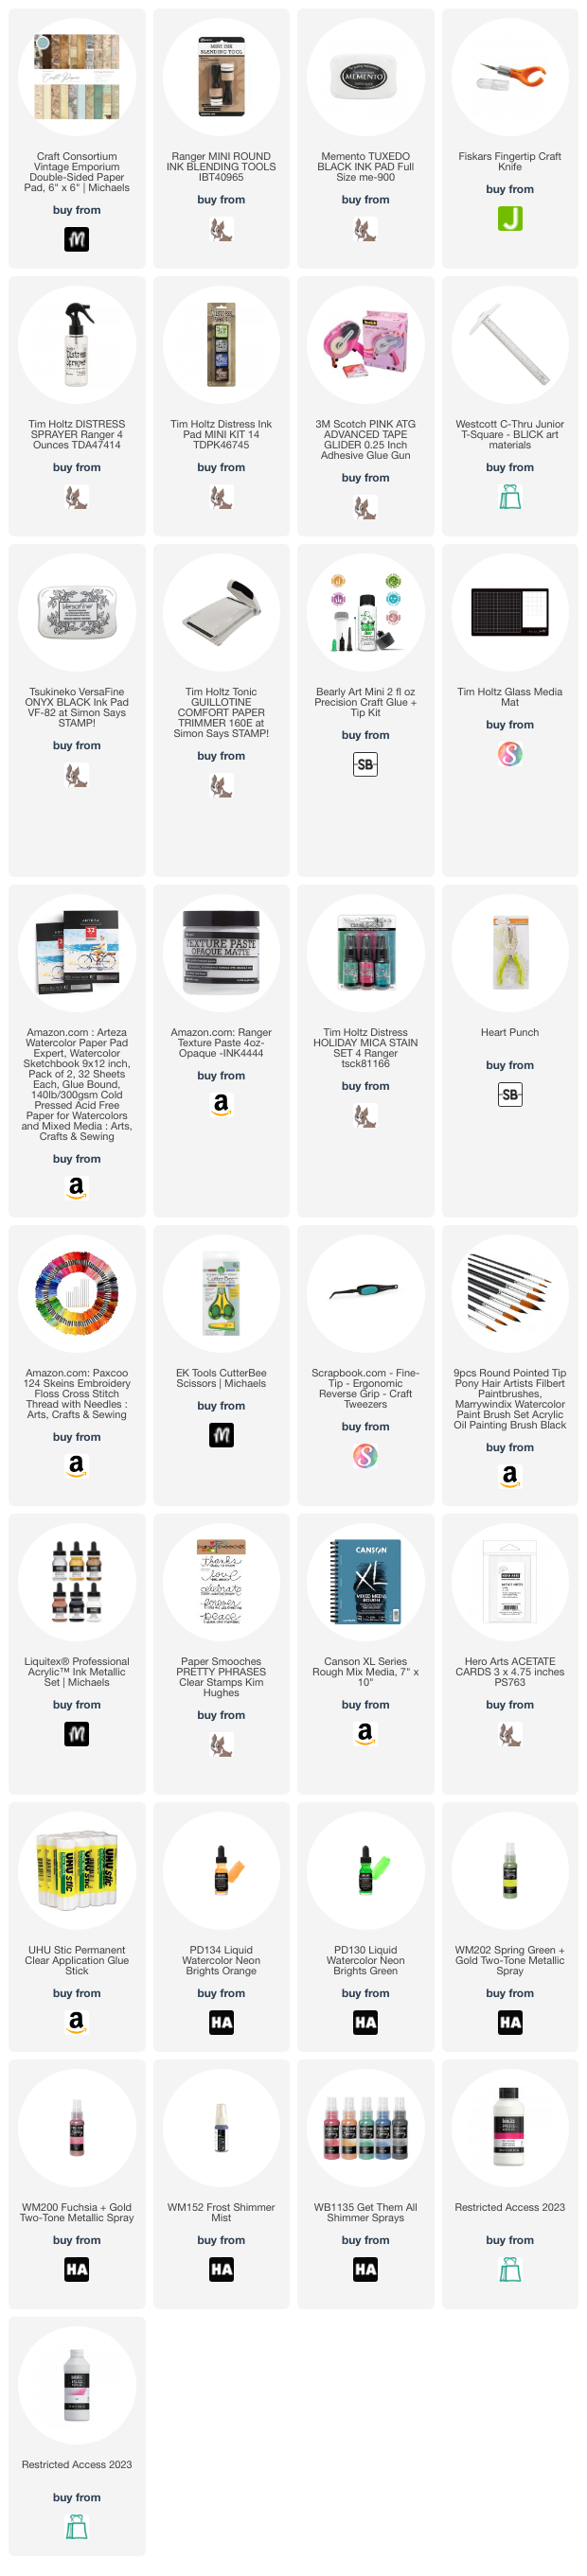
you can see the product details below same time the similar dies whichever you have you can mix and match to do these techniques.
THANK YOU FOR, SUBSCRIBING AND APPRECIATING.
Simon Says Stamp Wednesday Challenge Feel free to share this post on social media using the share!
Follow me on Instagram, Facebook, Pinterest, and YouTube,!
SUPPLIES