Showing posts with label Cardmaking. Show all posts

Monday, April 7, 2025

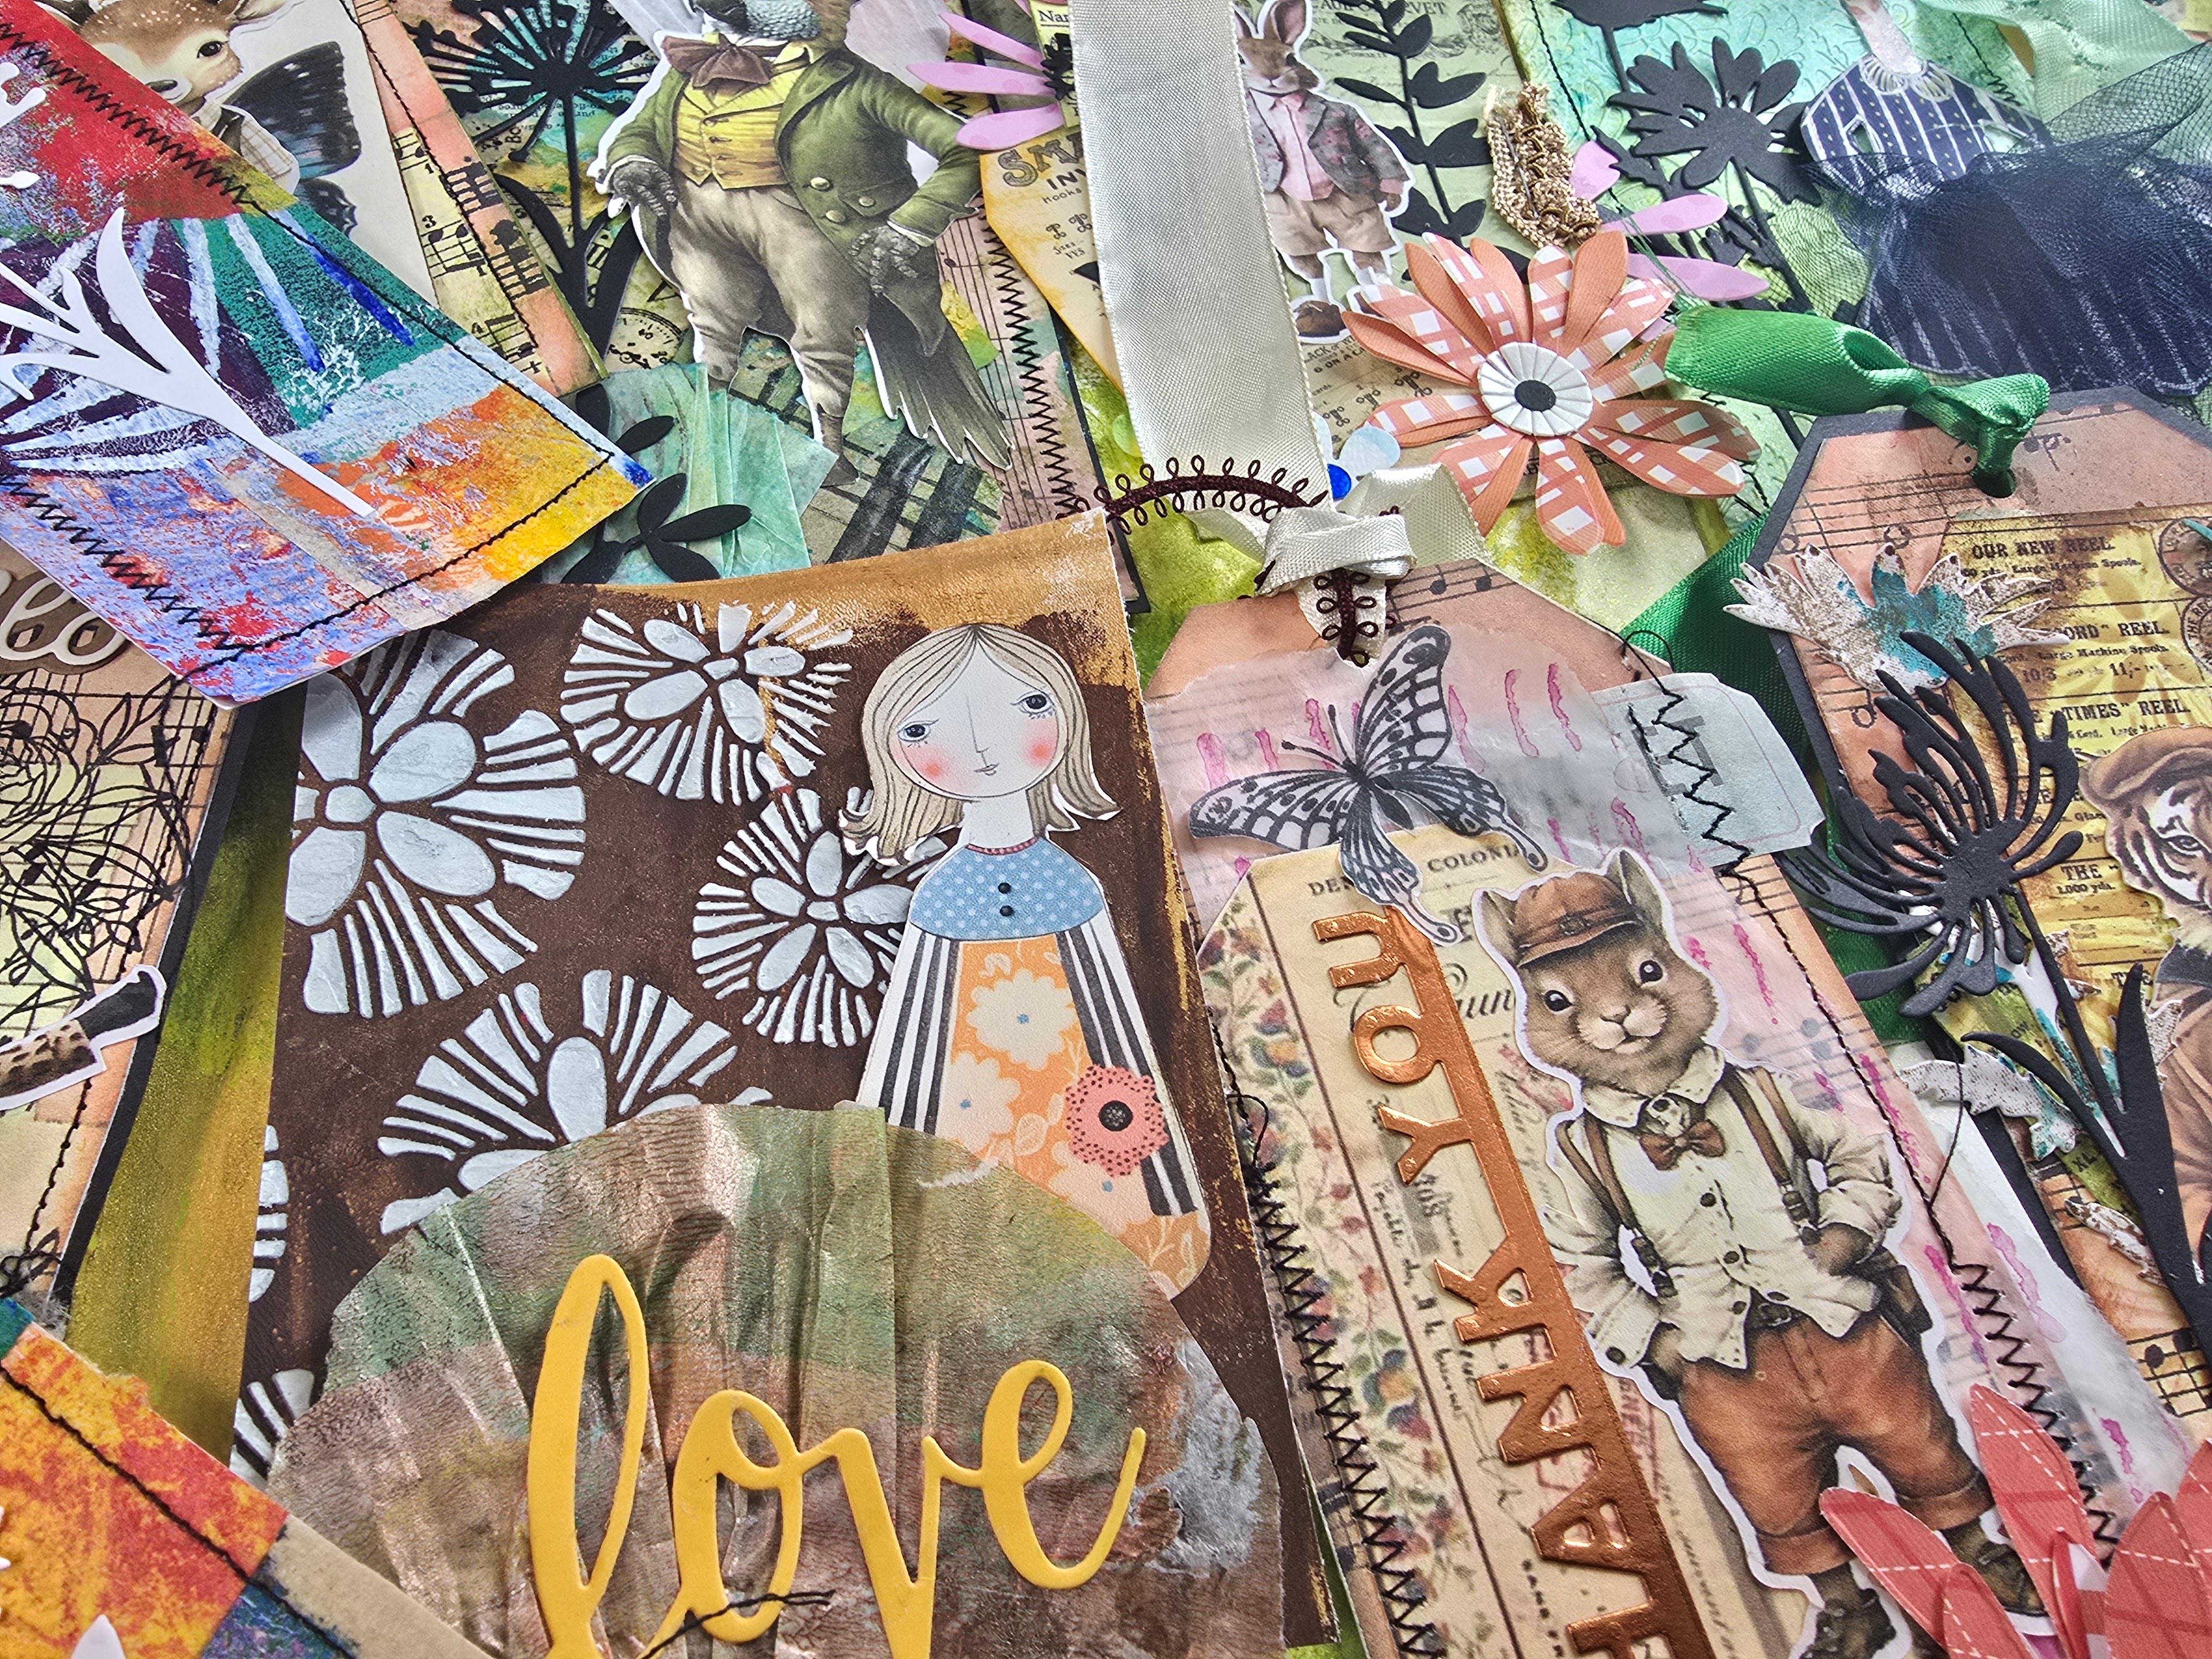
Make These Gorgeous Mixed Media Tags in Minutes


🎨 Make These Gorgeous Mixed Media Tags: A Simple & Joyful Creative Project

There’s something magical about turning bits and pieces—scraps, textures, old papers—into beautiful little works of art. That’s exactly what we’re doing today with mixed media tags!

Whether you’re new to mixed media or looking for a fun way to use up leftovers from your art table, this project is a joyful, low-pressure way to get creative.

Why Tags?

Tags are small, versatile, and just the right size to experiment without overwhelm. You can tuck them into junk journals, attach them to gifts, use them as bookmarks, or just collect them because they’re pretty!

What You’ll Need:

This is a great stash-busting project. Gather whatever you have on hand, like:

  • Old book pages or scrapbook paper

  • Paints (acrylics, watercolors—anything goes!)

  • Stamps, stencils, washi tape

  • Fabric or lace scraps

  • Glue, scissors, and a hole punch

Let’s Create:

  1. Start with a base – Cut out a tag shape from sturdy paper or recycled packaging.

  2. Layer it up – Add torn paper, paint, stamping, or texture paste. Play with color and shape.

  3. Add details – Think stitching, buttons, or a small quote. The charm is in the little things.

  4. Finish it off – Punch a hole at the top and thread a ribbon or twine through.

The best part? There’s no right or wrong. Each tag becomes its own little story.

Creative Tips:

✨ Try a theme—like vintage, floral, or seasonal.
✨ Use your tags to test new techniques or color combos.
✨ Make a bunch and bundle them as a handmade gift.


Want to see the full process in action?
👉 Watch the video tutorial here!


Final Thoughts:

Mixed media tags are a quick, satisfying creative escape, perfect for those moments when you just want to make something. So pull out your scraps, pour a cup of tea, and let your hands do the magic.

Tag me if you try this—I’d love to see what you create! 💖

#MixedMedia #CreativeReuse #DIYTags #JunkJournaling #MixedMediaArt #ScrappyCrafts


Tuesday, June 25, 2024

My Stunning Diy Envelopes: Perfect For Sending With Atc Or Handmade Cards!


Welcome to my channel! 🌟 In today's video, I'll show you how to create stunning DIY envelopes perfect for sending Artist Trading Cards (ATCs) or your beautiful handmade cards. Whether you're a seasoned crafter or just starting out, these easy-to-follow steps will help you make envelopes that add a personal and unique touch to your creations. 💌 Perfect For Artist Trading Cards (ATCs) Handmade greeting cards Special notes and letters Gifts and invitations

you can watch the full video tutorial here


Don't forget to LIKE, COMMENT, and SUBSCRIBE for more creative tutorials! Hit the bell icon 🔔 to stay updated with my latest videos. Share your envelope creations on social media using #MyStunningDIYEnvelopes – I'd love to see what you make! Let's get crafting! ✂️🎨


 Follow me on Instagram, Facebook, Pinterest, and YouTube,! 

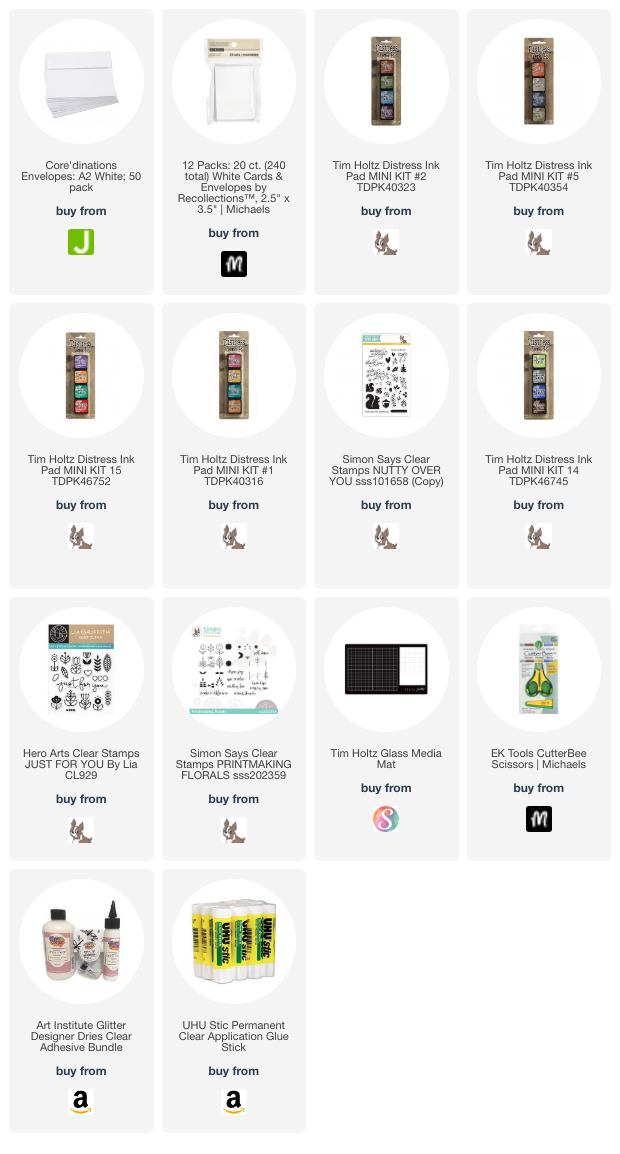
I get asked a lot about where to purchase the supplies I use in my videos and blog posts. I list all the supplies I use at the end of my posts (below) 

SUPPLIES

Wednesday, May 22, 2024

A Beginner’s Guide to Carving Your First Rubber Stamp


Have you ever admired a beautifully crafted rubber stamp and thought, "I wish I could make something like that"? Good news—you can! Carving your own rubber stamp is a rewarding and creative hobby that’s easier to get started with than you might think. In this guide, I’ll walk you through the process of carving your first rubber stamp, from gathering your materials to making your first print. Let’s dive in!

What You’ll Need
Before you begin, make sure you have all the necessary tools and materials. Here’s a checklist to get you started:

Materials:
Rubber Block: Soft, carvable rubber specifically made for stamp carving. Brands like Speedball or Moo Carve are great choices.
Ink Pad: Choose an ink pad with a color you love, or start with basic black.
Paper: High-quality paper for testing your stamps.
Tools:
Carving Tools: A basic set of linoleum cutters or a precision carving knife. Speedball makes a great beginner set.
Pencil: For drawing your design.
Tracing Paper: For transferring your design to the rubber.
Tape: To secure your tracing paper.
Step-by-Step Guide to Carving Your Rubber Stamp
Step 1: Design Your Stamp
Start with a simple design. Bold lines and shapes are easier to carve and make for a striking stamp. Draw your design on a piece of paper. Remember, your stamp will print in reverse, so if your design includes text, make sure it’s mirrored.

Step 2: Transfer Your Design
Place a piece of tracing paper over your design and trace it with a pencil. Then, flip the tracing paper over and position it on top of your rubber block. Rub the back of the tracing paper to transfer the graphite from the pencil onto the rubber. You should see a faint outline of your design on the rubber block.

Step 3: Secure Your Work
Tape the tracing paper to the rubber block to prevent it from shifting while you work. This step ensures your design stays in place and helps avoid mistakes.

Step 4: Start Carving
Using your carving tools, begin by outlining your design. Start with the fine detail tools for small, intricate areas, and switch to larger tools for broader areas. Always carve away from your body and fingers to avoid accidents. Take your time and carve slowly—precision is key.

Step 5: Test Your Stamp
Once you’ve finished carving, gently brush away any debris and ink your stamp. Press it firmly onto a piece of paper to see your first print. This test print will reveal any areas that need more carving or adjustments.

Step 6: Refine Your Design
After your test print, you might notice some areas that need refining. Clean your stamp, make the necessary adjustments, and test again. Repeat this process until you’re happy with the final result.

Tips for Success
Start Simple: Begin with straightforward designs and gradually progress to more complex ones as you gain confidence and skill.
Practice Patience: Carving is a meticulous process. Rushing can lead to mistakes or injuries.
Safety First: Always carve away from your hands and body to avoid cuts. Consider wearing a carving glove for added protection.
Experiment with Inks: Different inks can produce different effects. Experiment with colors and types of ink to find what works best for your projects.
Conclusion
Carving your own rubber stamps is a fun and creative hobby that allows you to make custom designs for cards, scrapbooks, and more. With the right tools and a bit of patience, you can create beautiful stamps that reflect your unique style. So gather your materials, sketch out a design, and start carving. Happy stamping!

If you’ve tried stamp carving or have tips of your own, share your experiences in the comments below. Let’s inspire each other to create amazing stamps!


Follow me on Instagram, Facebook, Pinterest, and YouTube,! 


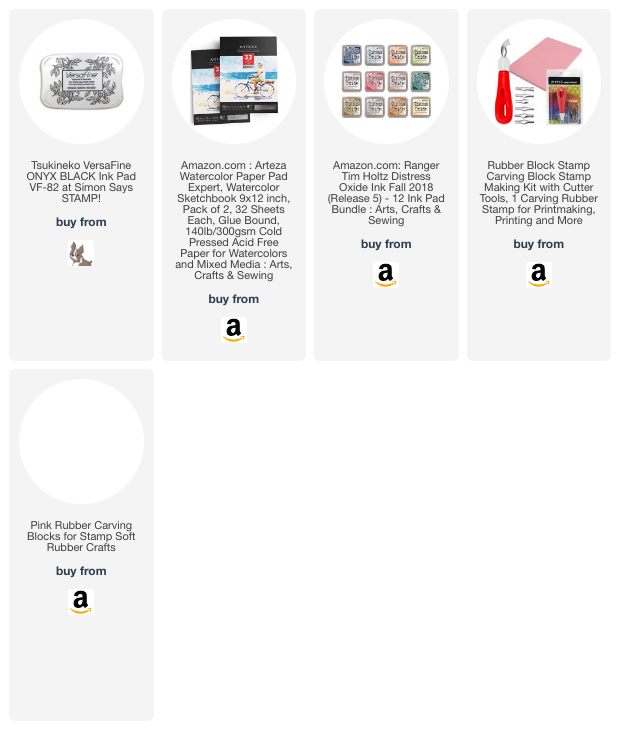
I get asked a lot about where to purchase the supplies I use in my videos and blog posts. I list all the supplies I use at the end of my posts (below) 

SUPPLIES


Wednesday, May 8, 2024

Create A Stunning Mixed Media Art Gift For Mom In No Time!


you can see the product details below same time the similar dies whichever you have you can mix and match to do these techniques.

THANK YOU FOR, SUBSCRIBING AND APPRECIATING.

Simon Says Stamp Wednesday Challenge Feel free to share this post on social media using the share!

Follow me on Instagram, Facebook, Pinterest, and YouTube,!

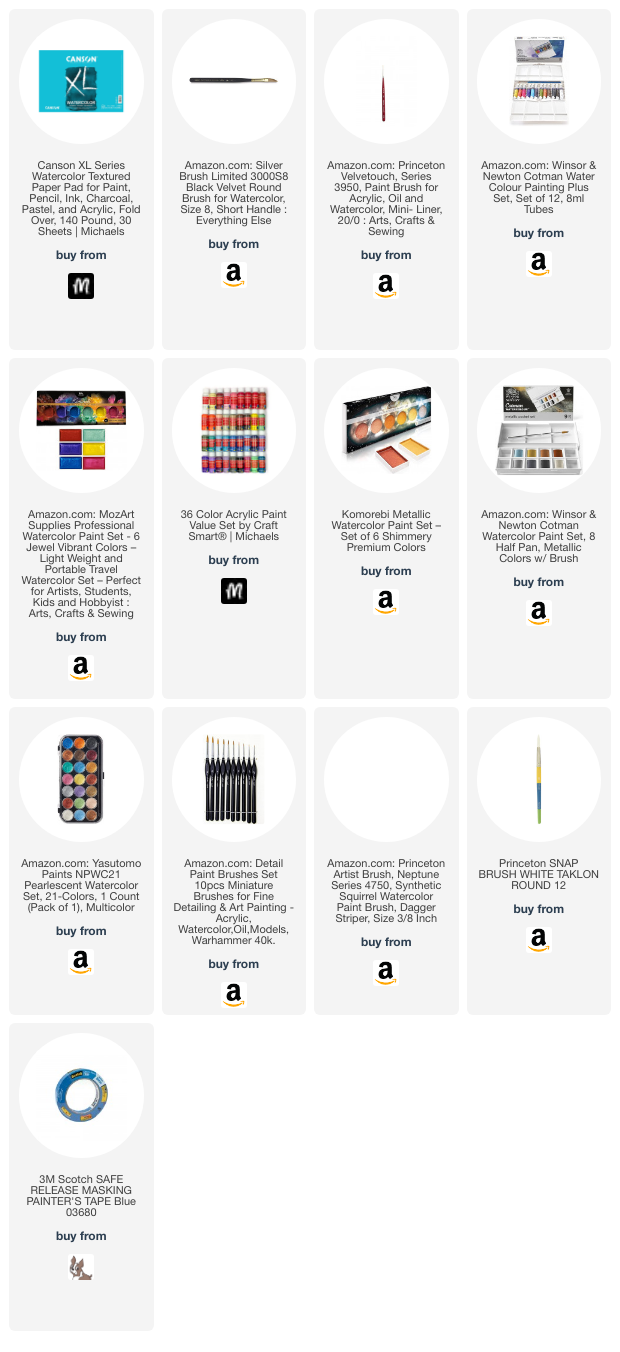
SUPPLIES


Thursday, March 7, 2024

Exploring Creativity: Mix Media Tags with Vintage Photos


Title: Exploring Creativity: Mix Media Tags with Vintage Photos

Introduction:

In the realm of mixed media art, there's a delightful freedom to blend various materials and techniques, resulting in unique and visually captivating creations. One of the most charming ways to dive into this world is by incorporating vintage photos into mix media tags. These tags serve as miniature canvases, allowing artists to weave together history, creativity, and personal expression in delightful ways. Join me as we explore the enchanting possibilities of mix media tags with vintage photos.

"Master The Art Of Mix Media Tags" Exploring Creativity: Mix Media Tags with Vintage Photos


Discovering Inspiration:

Vintage photographs possess an irresistible allure, evoking nostalgia and curiosity for times gone by. Whether it's sepia-toned portraits, faded landscapes, or candid snapshots, each image carries its own story, waiting to be rediscovered and reimagined. Drawing inspiration from these timeless treasures, artists can embark on a journey of creativity, infusing their mix media tags with a touch of vintage charm.

Gathering Materials:

To bring our mix media tags to life, we'll need an array of materials that offer both texture and depth to our creations. Start with sturdy tag bases or cardstock, providing a stable foundation for our artwork. Then, gather an assortment of embellishments such as lace, ribbons, buttons, and beads to add dimension and interest. Acrylic paints, ink sprays, and distressing tools will help us create captivating backgrounds, while adhesive mediums like gel medium or Mod Podge will secure our vintage photos in place.

The Creative Process:

With our materials at hand, we can begin the exhilarating process of crafting our mix media tags. Start by laying down a base layer of paint or ink on your tag, experimenting with colors and textures to establish the mood and theme of your piece. Once the background is complete, carefully adhere your chosen vintage photo onto the tag, allowing it to become the focal point of your design.

Next, layer on additional elements such as lace trim, fabric scraps, or stamped images to enhance the vintage aesthetic. Don't be afraid to experiment with different textures and compositions, allowing your creativity to guide you every step of the way. Finally, add finishing touches such as hand-lettered sentiments, metallic accents, or ephemera to complete your mix media tag and add a personalized touch.

Celebrating the Results:

As our mix media tags with vintage photos come to life, we're treated to a delightful fusion of old and new, nostalgia and creativity. Each tag becomes a tiny treasure, a visual representation of our imagination and artistic vision. Whether displayed as standalone pieces of art, incorporated into handmade cards or journals, or gifted to loved ones, these tags serve as reminders of the beauty that can emerge when history and creativity intertwine.

Conclusion:

Exploring mix media tags with vintage photos offers a delightful opportunity to blend creativity with nostalgia, resulting in captivating works of art that celebrate the past while embracing the present. As we continue to experiment and explore this enchanting medium, let us revel in the joy of rediscovering history through the lens of our own creativity

 you can see the product details below same time the similar dies whichever you have you can mix and match to do these techniques.

THANK YOU FOR, SUBSCRIBING AND APPRECIATING.

Simon Says Stamp Wednesday Challenge Feel free to share this post on social media using the share!

Follow me on Instagram, Facebook, Pinterest, and YouTube,!

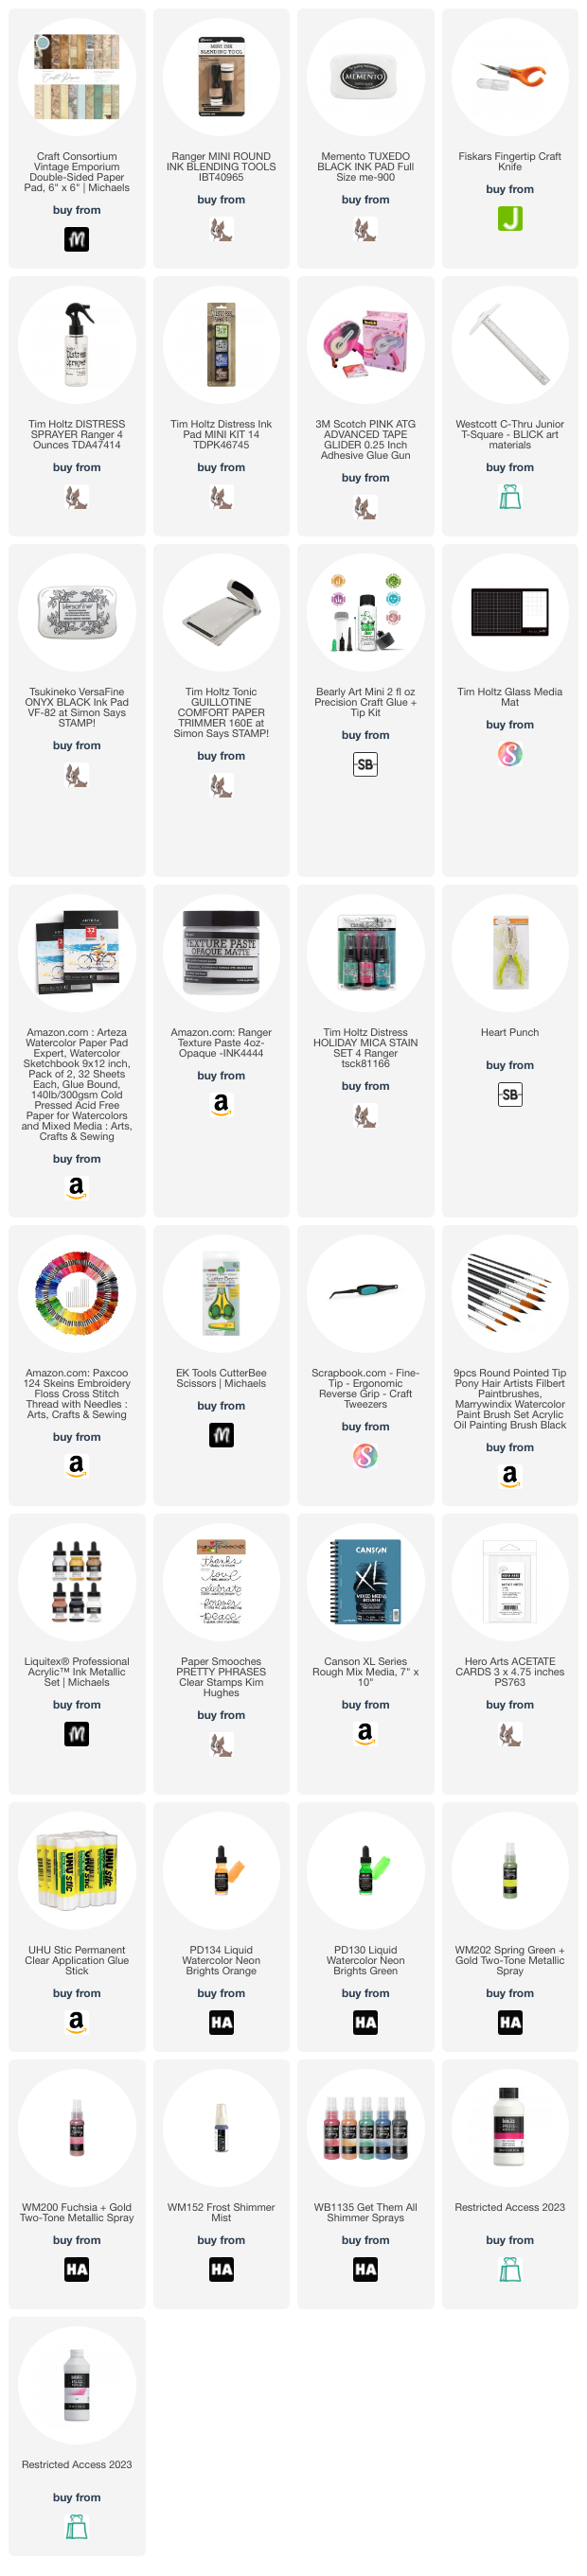
SUPPLIES