

Have you ever admired a beautifully crafted rubber stamp and thought, "I wish I could make something like that"? Good news—you can! Carving your own rubber stamp is a rewarding and creative hobby that’s easier to get started with than you might think. In this guide, I’ll walk you through the process of carving your first rubber stamp, from gathering your materials to making your first print. Let’s dive in!
What You’ll Need
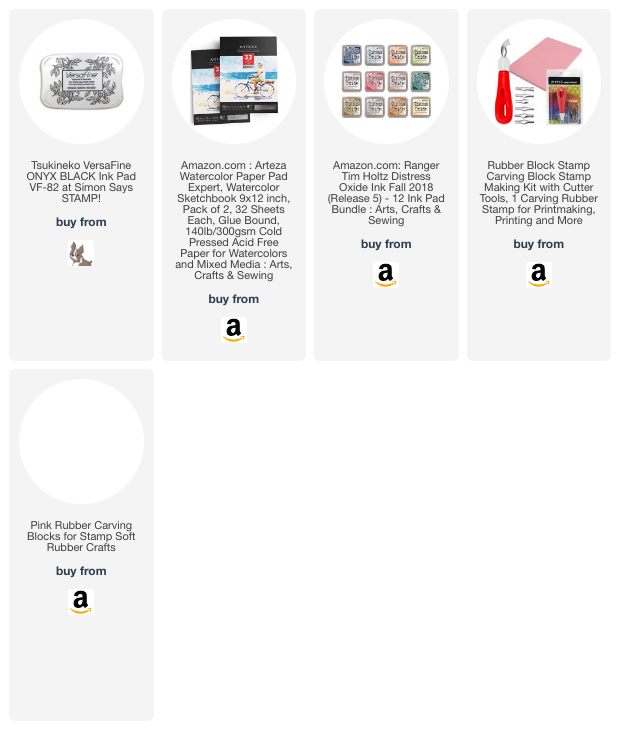
Before you begin, make sure you have all the necessary tools and materials. Here’s a checklist to get you started:
Materials:
Rubber Block: Soft, carvable rubber specifically made for stamp carving. Brands like Speedball or Moo Carve are great choices.
Ink Pad: Choose an ink pad with a color you love, or start with basic black.
Paper: High-quality paper for testing your stamps.
Tools:
Carving Tools: A basic set of linoleum cutters or a precision carving knife. Speedball makes a great beginner set.
Pencil: For drawing your design.
Tracing Paper: For transferring your design to the rubber.
Tape: To secure your tracing paper.
Step-by-Step Guide to Carving Your Rubber Stamp
Step 1: Design Your Stamp
Start with a simple design. Bold lines and shapes are easier to carve and make for a striking stamp. Draw your design on a piece of paper. Remember, your stamp will print in reverse, so if your design includes text, make sure it’s mirrored.
Step 2: Transfer Your Design
Place a piece of tracing paper over your design and trace it with a pencil. Then, flip the tracing paper over and position it on top of your rubber block. Rub the back of the tracing paper to transfer the graphite from the pencil onto the rubber. You should see a faint outline of your design on the rubber block.
Step 3: Secure Your Work
Tape the tracing paper to the rubber block to prevent it from shifting while you work. This step ensures your design stays in place and helps avoid mistakes.
Step 4: Start Carving
Using your carving tools, begin by outlining your design. Start with the fine detail tools for small, intricate areas, and switch to larger tools for broader areas. Always carve away from your body and fingers to avoid accidents. Take your time and carve slowly—precision is key.
Step 5: Test Your Stamp
Once you’ve finished carving, gently brush away any debris and ink your stamp. Press it firmly onto a piece of paper to see your first print. This test print will reveal any areas that need more carving or adjustments.
Step 6: Refine Your Design
After your test print, you might notice some areas that need refining. Clean your stamp, make the necessary adjustments, and test again. Repeat this process until you’re happy with the final result.
Tips for Success
Start Simple: Begin with straightforward designs and gradually progress to more complex ones as you gain confidence and skill.
Practice Patience: Carving is a meticulous process. Rushing can lead to mistakes or injuries.
Safety First: Always carve away from your hands and body to avoid cuts. Consider wearing a carving glove for added protection.
Experiment with Inks: Different inks can produce different effects. Experiment with colors and types of ink to find what works best for your projects.
Conclusion
Carving your own rubber stamps is a fun and creative hobby that allows you to make custom designs for cards, scrapbooks, and more. With the right tools and a bit of patience, you can create beautiful stamps that reflect your unique style. So gather your materials, sketch out a design, and start carving. Happy stamping!
If you’ve tried stamp carving or have tips of your own, share your experiences in the comments below. Let’s inspire each other to create amazing stamps!


Follow me on Instagram, Facebook, Pinterest, and YouTube,!
I get asked a lot about where to purchase the supplies I use in my videos and blog posts. I list all the supplies I use at the end of my posts (below)
SUPPLIES
No comments:
Post a Comment