Wednesday, November 6, 2024

Dive into the World of Mushroom Mixed Media - Stamping, Coloring, and More!


Dive into the World of Mushroom Mixed Media - Stamping, Coloring, and More!


Introduction: Mushrooms are more than just fungi—they’re nature’s art, growing in unique shapes and captivating colors that make them perfect for creative projects. Bringing mushroom elements into mixed media art opens up a world of possibilities. From textured stamping to vibrant coloring and DIY mushroom paper, there’s so much you can do. In this blog post, we’ll explore some fun ways to incorporate mushrooms into your art, whether you’re a beginner or a seasoned creator. Let’s dive in!

1. Stamping Mushrooms for Intricate Layers and Patterns

  • What You’ll Need: Mushroom stamps, ink pads in various colors, acrylic blocks, embossing powder (optional).
  • Technique: Stamping is an easy way to create quick, detailed mushroom shapes in your layout. Choose a mix of mushroom stamps to add variety to your art. Start by stamping with ink pads for a colorful base, then experiment with embossing powder for added texture and shine.
  • Tips: Try stamping on vellum or tracing paper to create a layered, translucent effect that mimics the natural world’s softness. These layers can be glued over other elements to create depth.

  • you can watch the full video tutorial here


2. Coloring Mushrooms: Experiment with Different Mediums

  • What You’ll Need: Watercolors, colored pencils, markers, or acrylic paint.
  • Technique: Coloring lets you explore the beauty and diversity of mushroom species, from earthy tones to vibrant reds and purples. Watercolors are great for soft, blended effects, while acrylics or markers give a bolder, saturated look. Try blending multiple colors to mimic the gradient effect often seen on mushroom caps.
  • Tips: For a realistic look, layer your colors gradually. Start light and build up to deeper shades. Colored pencils can add fine details, such as the spots and striations on mushroom caps.


3. DIY Mushroom Paper: Create Custom Backgrounds

  • What You’ll Need: Fresh or dried mushrooms, paper pulp, blender, water, screen frame.
  • Technique: Making your own paper with mushrooms is a fantastic way to bring a natural, earthy texture into your artwork. Blend mushrooms with paper pulp to create a unique paper base. Pour the pulp mixture onto a screen frame, spread it out, and let it dry to create a textured background.
  • Tips: Press leaves, dried flowers, or thin mushroom slices into the pulp for extra texture and visual interest. Use this handmade paper as the background for your layout, or cut it into smaller shapes to layer into your artwork.


4. Creating Layered Mixed Media Layouts

  • What You’ll Need: Gesso, gel medium, washi tape, brushes, stencils, mushroom-inspired stamps, and your handmade mushroom paper.
  • Technique: To pull everything together, start by preparing a blank canvas with a coat of gesso. Then, start layering your elements: stamped mushrooms, handmade mushroom paper, washi tape, and stencils for added dimension. Use gel medium to adhere various layers, and experiment with positioning different textures and colors.
  • Tips: Balance smooth and rough textures, matte and shiny surfaces, and neutral and bright colors. Let each layer dry fully before adding the next for a polished, professional look.


Conclusion:

Exploring mushrooms in mixed media opens up so many creative possibilities. Whether you’re stamping, coloring, making your own paper, or layering different elements, each technique brings a unique flair to your work. With a little inspiration and some experimentation, you can create a mixed-media piece that captures the beauty and mystery of mushrooms.


Happy creating, and don’t forget to let your imagination grow! 🍄✨

Follow me on InstagramFacebookPinterest, and YouTube,

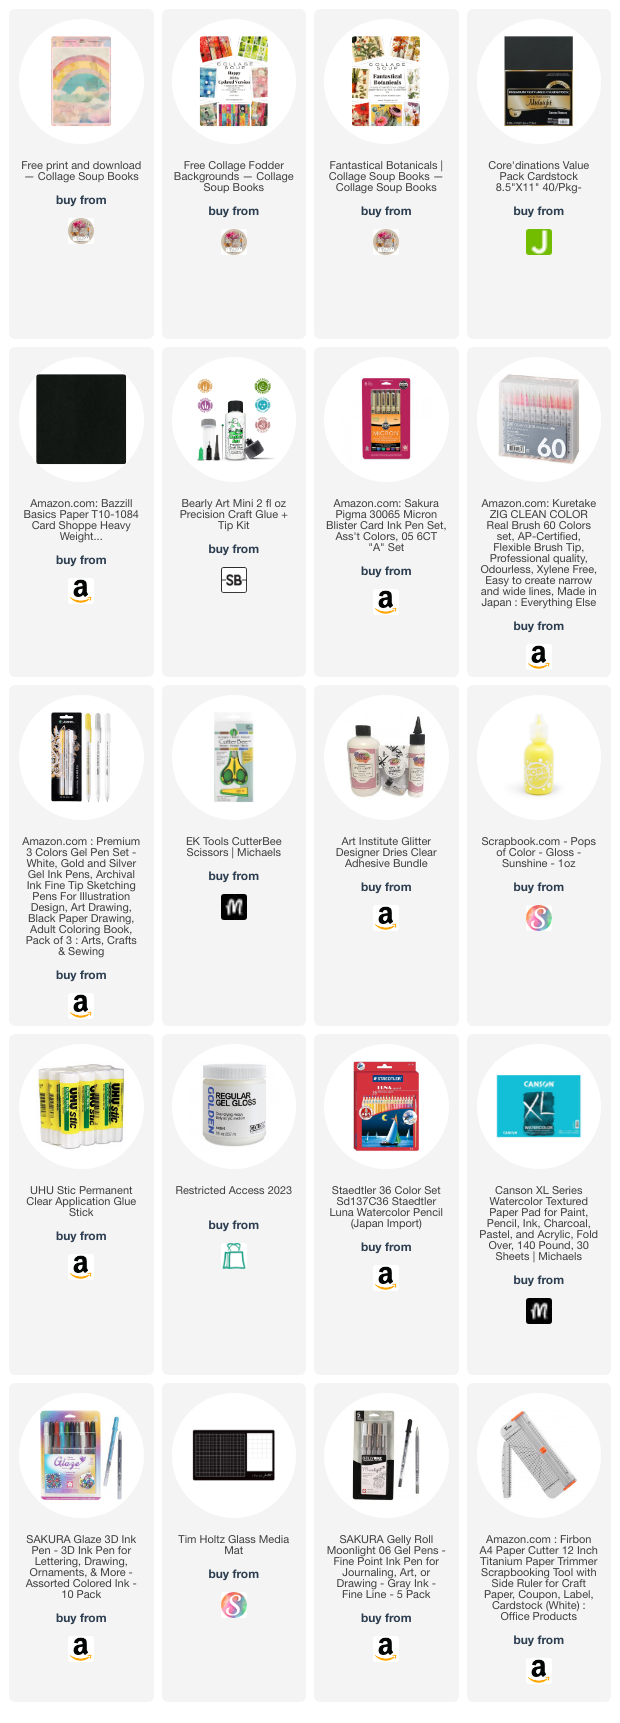
I get asked a lot about where to purchase the supplies I use in my videos and blog posts. I list all the supplies I use at the end of my posts (below) 

SUPPLIES

Dive into the World of Mushroom Mixed Media - Stamping, Coloring, and More!

 Dive into the World of Mushroom Mixed Media - Stamping, Coloring, and More!

Introduction: Mushrooms are a captivating theme for any mixed media project! From their intriguing shapes and colors to the different ways you can incorporate them into art, mushrooms offer endless inspiration. In this blog post, we’ll dive into how to create layered mixed-media pieces with mushrooms as the focal point. We’ll explore various techniques like stamping, coloring, growing your own, and making custom paper—perfect for artists of all levels.

1. Stamping Mushrooms: Add Texture and Dimension

  • Supplies Needed: Mushroom stamps, ink pads, acrylic blocks, embossing powder (optional).
  • Technique: Stamping is a fantastic way to introduce mushrooms to your layout. Choose different mushroom stamp designs for variety. Use multiple colors of ink to create layers. If you want to add texture, sprinkle embossing powder over stamped areas while the ink is wet, then heat-set for a raised effect.
  • Tips: Try stamping mushrooms on tracing paper or vellum, then layer them on top of your background to add a soft, ethereal effect.


2. Coloring Mushrooms: Experiment with Different Mediums

  • Supplies Needed: Watercolors, colored pencils, markers, acrylic paint.
  • Technique: Coloring mushrooms lets you play with a range of mediums. Start with watercolors for a soft look, or use acrylics for vibrant, opaque colors. Try blending different shades to mimic the natural gradients found on mushroom caps.
  • Tips: Color different types of mushrooms in unique styles. For example, use bright colors for a whimsical look or earthy tones for a more realistic touch.


3. Making Mushroom Paper: Create Unique Backgrounds

  • Supplies Needed: Mushrooms (dried or fresh), pulp or paper-making kit, water, blender, screen frame.
  • Technique: Mushroom paper can give your layout a natural, earthy texture. Blend mushrooms with other materials to create a unique paper pulp. Pour the pulp onto a screen frame and spread evenly, then allow it to dry completely.
  • Tips: Press leaves, small twigs, or pressed mushroom slices into the pulp for added texture and a more layered look. Once dry, use the paper as a background or cut it into shapes to layer within your composition.
  • you can watch the full video tutorial here


4. Creating Layered Mixed Media Layouts: Pull It All Together

  • Supplies Needed: All of the above, plus gel medium, gesso, brushes, palette knife, patterned papers, washi tape, and stencils.
  • Technique: Begin with a blank canvas and apply a layer of gesso to prepare the surface. Layer on your mushroom paper, add stamped elements, and use different coloring techniques to build your composition. Use gel medium to adhere paper layers and washi tape to add accents. Apply stencils with a palette knife for more depth.
  • Tips: Work in layers, letting each element dry before adding the next. Experiment with different textures—rough vs. smooth, matte vs. shiny—to keep the viewer’s eye moving.

Conclusion:

Exploring mixed media with mushrooms is a rewarding way to experiment with techniques and textures. With stamping, coloring, growing, and paper-making, you’ll create a piece that’s not only visually engaging but deeply connected to nature. So gather your supplies, let your imagination run wild, and enjoy the creative journey of mushroom-inspired mixed media!

Follow me on InstagramFacebookPinterest, and YouTube,

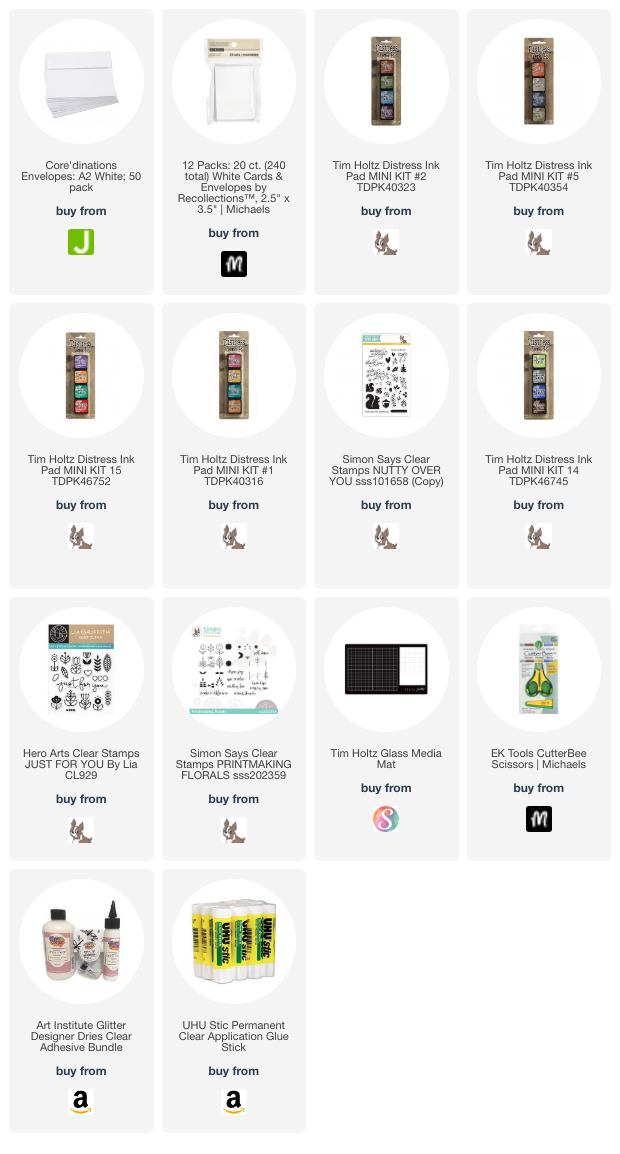
I get asked a lot about where to purchase the supplies I use in my videos and blog posts. I list all the supplies I use at the end of my posts (below) 

SUPPLIES

Exploring Mushrooms in Mixed Media: Stamping, Coloring, and Paper-Making!

 Exploring Mushrooms in Mixed Media: Stamping, Coloring, Growing, and Paper-Making!


Mushrooms are not only fascinating in nature but can also bring a unique flair to mixed media projects! From using them as stamps to growing them and making papers inspired by them, there’s no end to the creative possibilities. Here’s how to dive into mushrooms in mixed media, using various art supplies and techniques for beautiful, layered compositions.


1. Stamping Mushrooms

Supplies: Mushroom-themed stamps, ink pads, acrylic paints, foam brush, and paper.

Stamping is a fantastic way to start a mixed-media layout. Mushroom stamps come in different shapes, sizes, and styles, allowing you to add both bold and subtle impressions. Here's how:

  • Experiment with Ink Pads and Acrylic Paints: Ink pads give a crisp look, while acrylic paints provide texture and can be layered for depth.
  • Try Foam Brushes for Blending: Use foam brushes to dab different colors onto the stamp, creating a watercolor-like effect.
  • Stamp Repeated Patterns: Layer stamps in different directions to create a mushroom-filled forest background.


2. Coloring Techniques for Mushrooms

Supplies: Watercolors, colored pencils, markers, pastels.

Coloring brings out the vibrant, whimsical side of mushrooms. There are endless options to explore:

  • Watercolor Washes: Light washes bring a soft, dreamy quality. Build color intensity gradually to show details.
  • Marker Blending: Use markers with different tips for detailed textures. Try blending lighter and darker shades to mimic real mushroom spots.
  • Colored Pencils and Pastels: Layering pencils can add depth and dimension, while pastels can be blended for soft edges.

  • you can watch the full video tutorial here


3.Mushrooms for Inspiration

Supplies: Mushroom- photo journal or sketchbook.

  • Texture Studies: Examine and sketch mushroom gills, stems, and caps to inspire textural elements in your mixed media.
  • Color Matching: Notice the earthy colors and attempt to replicate them in your art with paints, inks, or pastels.

4. Making Mushroom-Inspired Paper

Supplies: Recycled paper, water, mushroom spores or natural dyes, blending tool, mold and deckle.

Hand-made paper is an excellent base for mixed media. Add a bit of mushroom essence by using spores, natural dyes, or textures inspired by mushrooms.

  • Add Natural Elements: Mix in tiny mushroom bits or natural pigments in earthy tones (browns, greens, reds).

5. Combining All the Layers in a Mixed Media Layout

  • Start with the Stamped Background: Layer different mushroom stamps as your base.
  • Add Colored Mushroom Shapes: Cut out or draw colored mushrooms, giving depth by layering them with foam tape or gel medium.
  • Use Hand-Made Paper as a Canvas: Place your hand-made mushroom paper as a base or accent, making it the focal point.
  • Blend Different Mediums: Use watercolors to add shadows and highlights, creating a cohesive look.

Final Tips

Mixing various supplies and techniques can feel overwhelming, so start small. Focus on one or two techniques at first, then build up your layers as you feel more confident. By incorporating the textures, colors, and life cycles of mushrooms, you’ll create art that feels rich, layered, and alive!

Happy crafting! 🍄

Follow me on InstagramFacebookPinterest, and YouTube,

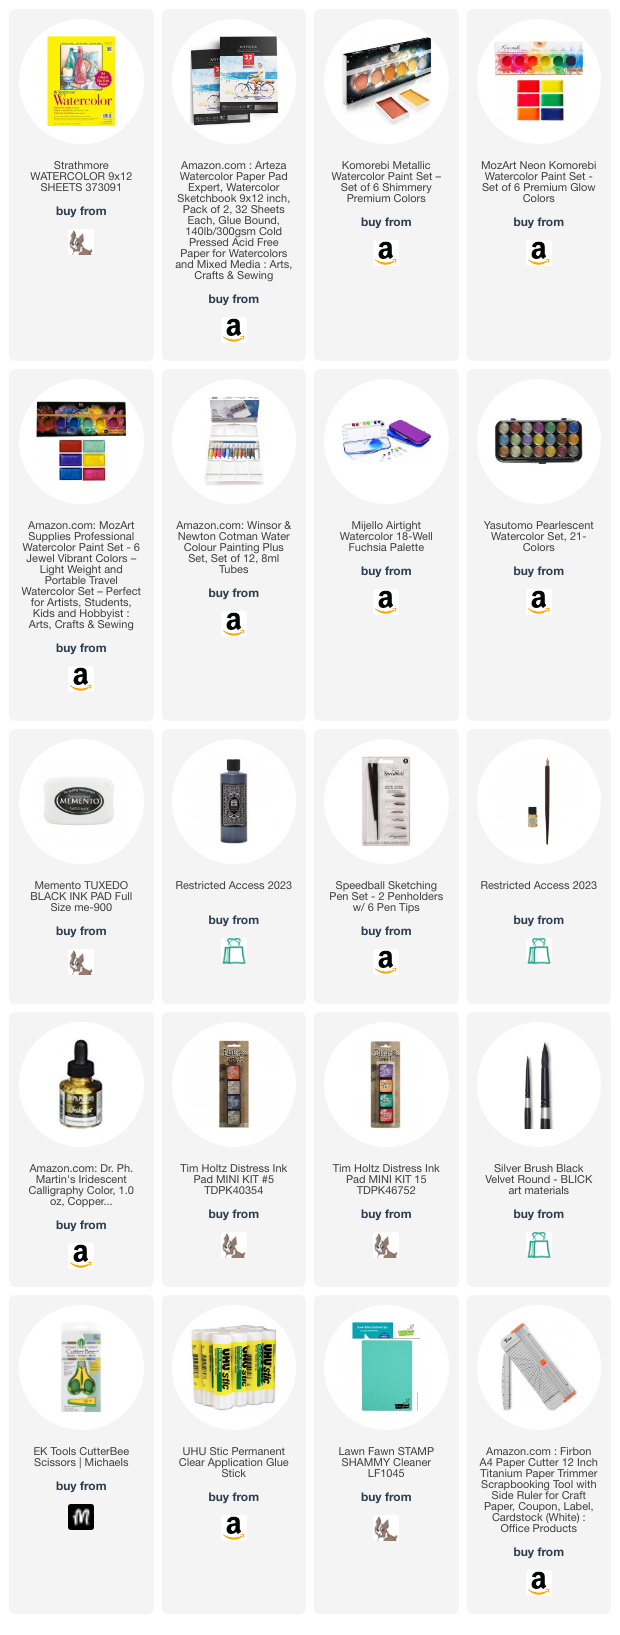
I get asked a lot about where to purchase the supplies I use in my videos and blog posts. I list all the supplies I use at the end of my posts (below) 

SUPPLIES

Wednesday, October 9, 2024

Spice Up Your Art With Mix Media Collage Soup Books Featuring Indian Beauties!


Are you looking to add some zest and vibrancy to your artistic creations? Imagine combining the vibrant colors, textures, and stories of Indian culture with the endless possibilities of mixed media art. That's where the idea of "Mix Media Collage Soup Books" comes in—an innovative way to spice up your art by celebrating Indian beauties in all their traditional and contemporary glory!

What is a Mix Media Collage Soup Book?

A "soup book" in the art world is a delightful explosion of ideas, techniques, and materials thrown into one expressive, artistic project. In this case, a Mix Media Collage Soup Book is a sketchbook or journal where various forms of mixed media art come together to create an intricate, beautiful tapestry of visual storytelling. You can use paint, fabrics, paper cutouts, photographs, and even digital designs to create a stunning array of layered compositions.

The beauty of a "soup" approach is its versatility. It’s a place where anything goes—textured papers, bold prints, recycled materials, and even spices (yes, literal spices!) can make their way into your pages.


Why Indian Beauties?

India is known for its rich cultural diversity, stunning landscapes, and vibrant traditions. From the elegance of classical Indian dance to the boldness of modern Bollywood fashion, Indian beauties—both in person and in concept—are a source of endless inspiration for artists worldwide.

By incorporating Indian beauty into your mixed media collage, you're not only paying tribute to this incredible culture, but also adding rich colors, ornate designs, and layered stories that evoke emotion and thought. Indian attire, traditional jewelry, henna patterns, and vivid festivals all offer a treasure trove of visual elements to include in your art.

Elements to Include in Your Collage:

  • Vibrant Colors: Think bold hues like saffron yellow, vermilion red, deep indigo, and emerald green. These colors are often seen in traditional Indian clothing, festivals, and art.

  • Textured Fabrics: Sari pieces, brocade, or handwoven textiles make great additions to your collage pages. The richness of these fabrics will bring depth to your work.

  • Patterns and Symbols: Indian culture is full of intricate patterns, from mandalas to henna designs, which add visual interest and symbolism. Incorporate these into your backgrounds or as focal points in your art.

  • Photographs and Portraits: You can add images of classical Indian dancers, Bollywood stars, or even historical figures like princesses and queens to your collage. Mix them with paint, textured paper, or stitching for a unique take.

  • Natural Elements: Use dried flowers, spices like turmeric and saffron, or even leaves to add an earthy, aromatic layer to your art. These elements will evoke the essence of India’s natural beauty and traditions.

How to Get Started:

  1. Pick a Theme: Is your collage book going to focus on traditional Indian fashion? Bollywood glam? Historical beauties from Indian folklore? Or perhaps a mix of all? Decide on a central theme to guide your artistic choices.

  2. Gather Materials: Collect a variety of mixed media elements that reflect your theme. This could include magazine cutouts, fabrics, paints, and any found objects that inspire you.

  3. Play with Layouts: Experiment with layering different textures, images, and colors. There are no rules here—let your creativity flow and mix elements that feel right together.

  4. Embellish: Add fine details like glitter, sequins, or hand-drawn elements to give your collage extra dimension. Embellishments help to elevate the overall composition and bring your vision to life.

  5. Finish with a Story: Every collage tells a story. Whether you're creating a visual ode to Indian women’s beauty, strength, and grace, or highlighting the contrasts between old and new India, make sure your final piece resonates with the deeper narrative you wish to express.

Why This Matters:

Art is more than just a visual medium; it’s a way to communicate, to tell stories, and to preserve culture. By creating a Mix Media Collage Soup Book featuring Indian beauties, you're not only making a beautiful piece of art—you’re also engaging with and learning about the cultural significance behind the designs, colors, and symbols that have shaped India for centuries.

So go ahead, let your imagination run wild, and spice up your art with the beauty of India in a whole new way! Your Mix Media Collage Soup Book is bound to be a feast for the eyes and a celebration of culture, beauty, and artistic freedom.


Follow me on InstagramFacebookPinterest, and YouTube,

I get asked a lot about where to purchase the supplies I use in my videos and blog posts. I list all the supplies I use at the end of my posts (below) 

SUPPLIES

Tuesday, June 25, 2024

My Stunning Diy Envelopes: Perfect For Sending With Atc Or Handmade Cards!


Welcome to my channel! 🌟 In today's video, I'll show you how to create stunning DIY envelopes perfect for sending Artist Trading Cards (ATCs) or your beautiful handmade cards. Whether you're a seasoned crafter or just starting out, these easy-to-follow steps will help you make envelopes that add a personal and unique touch to your creations. 💌 Perfect For Artist Trading Cards (ATCs) Handmade greeting cards Special notes and letters Gifts and invitations

you can watch the full video tutorial here


Don't forget to LIKE, COMMENT, and SUBSCRIBE for more creative tutorials! Hit the bell icon 🔔 to stay updated with my latest videos. Share your envelope creations on social media using #MyStunningDIYEnvelopes – I'd love to see what you make! Let's get crafting! ✂️🎨


 Follow me on InstagramFacebookPinterest, and YouTube,

I get asked a lot about where to purchase the supplies I use in my videos and blog posts. I list all the supplies I use at the end of my posts (below) 

SUPPLIES

Saturday, June 22, 2024

Get Creative With Your Mixed Media Supplies: Try Using All Your Products!


Mixed media art is all about combining different materials and techniques to create unique, textured pieces. Here are some creative ideas to help you make the most of all your mixed media supplies:

1. Layering Different Mediums

  • Paint and Ink: Start with a base layer of acrylic or watercolor paint, then add details with ink pens or markers. The contrast in textures can add depth to your work.
  • Collage: Use scraps of paper, magazine cutouts, or fabric to create a collage base. Then, paint over it or add embellishments with pens and markers.

2. Texture and Dimension

  • Modeling Paste: Apply modeling paste through stencils or with a palette knife to create raised, textured surfaces. Once dry, paint over it for a dramatic effect.
  • Fabric and Fibers: Incorporate pieces of fabric, yarn, or threads to add a tactile element to your artwork.

3. Alternative Surfaces

  • Wood Panels: Try working on wood panels instead of canvas or paper. The sturdy surface can handle a lot of layering and heavy materials.
  • Glass and Metal: Experiment with painting on glass or metal surfaces for a different look. Use appropriate primers and sealers to ensure your work adheres well.

4. Unconventional Tools

  • Household Items: Use items like credit cards, sponges, or bubble wrap to apply paint and create interesting patterns and textures.
  • Nature: Incorporate natural elements such as leaves, twigs, or sand. These can be glued onto your piece or used as tools for applying paint.

5. Combining Techniques

  • Stamping and Stenciling: Use stamps and stencils with ink, paint, or modeling paste to add repetitive patterns and designs.
  • Hand-drawn Elements: Add personal touches with hand-drawn doodles, sketches, or lettering over your mixed media background.

6. Integrating Digital Elements

  • Printouts: Incorporate digital prints or photos into your mixed media pieces. You can alter them with paint or other mediums to blend them into your work.
  • Digital Editing: Create a base layer digitally, print it out, and then enhance it with traditional media like paint, ink, and collage.

7. Using Found Objects

  • Assemblage: Gather small found objects such as buttons, beads, keys, or pieces of jewelry. Assemble them into your artwork to add a 3D element.
  • Recycled Materials: Use packaging materials, old book pages, or fabric scraps to create interesting textures and layers.

8. Experiment with Color and Light

  • Layering Transparencies: Use transparent materials like tissue paper, vellum, or acetate sheets to add subtle color layers and play with light.
  • Metallics and Iridescents: Incorporate metallic paints, foils, or iridescent mediums to add shine and dimension.

9. Interactive Elements

  • Flip-outs and Fold-outs: Create parts of your artwork that can be flipped or folded out to reveal hidden elements.
  • Movable Parts: Incorporate gears, hinges, or sliders to make parts of your artwork move.

10. Journaling and Writing

  • Incorporate Text: Add handwritten notes, quotes, or poetry. Use calligraphy or typewritten text to integrate words meaningfully into your piece.
  • Hidden Messages: Write hidden messages under layers of paint or paper that can be partially revealed for a mysterious touch.

Tips for Success:

  • Experiment Freely: Don’t be afraid to try new combinations of materials and techniques. Mixed media is all about exploration.
  • Embrace Imperfection: Imperfections can add character to your work. Embrace them as part of the creative process.
  • Build Gradually: Start with a simple base and build your layers gradually. This allows you to see how each new addition affects the overall composition.

By using all your mixed media supplies creatively, you can produce truly unique and expressive art pieces. Enjoy the process and let your imagination guide you!


Follow me on InstagramFacebookPinterest, and YouTube,


I get asked a lot about where to purchase the supplies I use in my videos and blog posts. I list all the supplies I use at the end of my posts (below) 

SUPPLIES

Wednesday, May 22, 2024

A Beginner’s Guide to Carving Your First Rubber Stamp


Have you ever admired a beautifully crafted rubber stamp and thought, "I wish I could make something like that"? Good news—you can! Carving your own rubber stamp is a rewarding and creative hobby that’s easier to get started with than you might think. In this guide, I’ll walk you through the process of carving your first rubber stamp, from gathering your materials to making your first print. Let’s dive in!

What You’ll Need
Before you begin, make sure you have all the necessary tools and materials. Here’s a checklist to get you started:

Materials:
Rubber Block: Soft, carvable rubber specifically made for stamp carving. Brands like Speedball or Moo Carve are great choices.
Ink Pad: Choose an ink pad with a color you love, or start with basic black.
Paper: High-quality paper for testing your stamps.
Tools:
Carving Tools: A basic set of linoleum cutters or a precision carving knife. Speedball makes a great beginner set.
Pencil: For drawing your design.
Tracing Paper: For transferring your design to the rubber.
Tape: To secure your tracing paper.
Step-by-Step Guide to Carving Your Rubber Stamp
Step 1: Design Your Stamp
Start with a simple design. Bold lines and shapes are easier to carve and make for a striking stamp. Draw your design on a piece of paper. Remember, your stamp will print in reverse, so if your design includes text, make sure it’s mirrored.

Step 2: Transfer Your Design
Place a piece of tracing paper over your design and trace it with a pencil. Then, flip the tracing paper over and position it on top of your rubber block. Rub the back of the tracing paper to transfer the graphite from the pencil onto the rubber. You should see a faint outline of your design on the rubber block.

Step 3: Secure Your Work
Tape the tracing paper to the rubber block to prevent it from shifting while you work. This step ensures your design stays in place and helps avoid mistakes.

Step 4: Start Carving
Using your carving tools, begin by outlining your design. Start with the fine detail tools for small, intricate areas, and switch to larger tools for broader areas. Always carve away from your body and fingers to avoid accidents. Take your time and carve slowly—precision is key.

Step 5: Test Your Stamp
Once you’ve finished carving, gently brush away any debris and ink your stamp. Press it firmly onto a piece of paper to see your first print. This test print will reveal any areas that need more carving or adjustments.

Step 6: Refine Your Design
After your test print, you might notice some areas that need refining. Clean your stamp, make the necessary adjustments, and test again. Repeat this process until you’re happy with the final result.

Tips for Success
Start Simple: Begin with straightforward designs and gradually progress to more complex ones as you gain confidence and skill.
Practice Patience: Carving is a meticulous process. Rushing can lead to mistakes or injuries.
Safety First: Always carve away from your hands and body to avoid cuts. Consider wearing a carving glove for added protection.
Experiment with Inks: Different inks can produce different effects. Experiment with colors and types of ink to find what works best for your projects.
Conclusion
Carving your own rubber stamps is a fun and creative hobby that allows you to make custom designs for cards, scrapbooks, and more. With the right tools and a bit of patience, you can create beautiful stamps that reflect your unique style. So gather your materials, sketch out a design, and start carving. Happy stamping!

If you’ve tried stamp carving or have tips of your own, share your experiences in the comments below. Let’s inspire each other to create amazing stamps!


Follow me on InstagramFacebookPinterest, and YouTube,


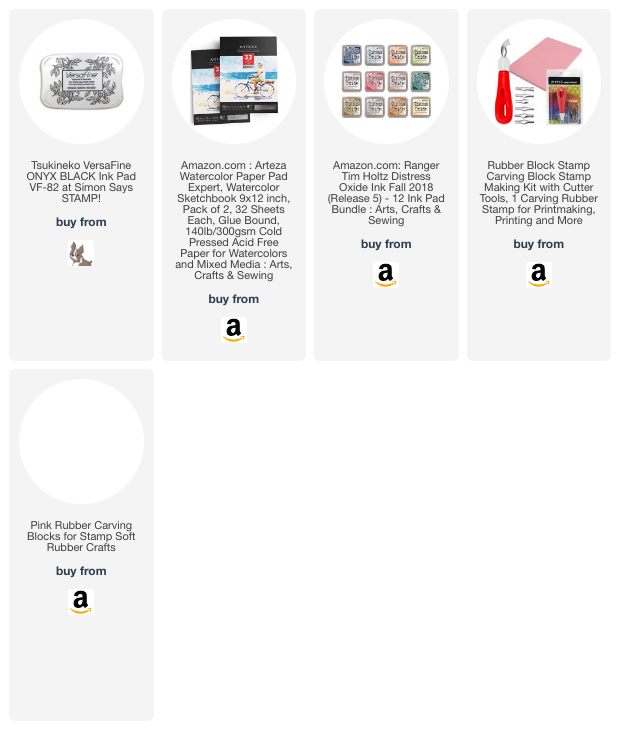
I get asked a lot about where to purchase the supplies I use in my videos and blog posts. I list all the supplies I use at the end of my posts (below) 

SUPPLIES