Creating Striking Mixed Media Cards with Masterboard: Perfect for Every Occasion!


Are you searching for a versatile and creative way to craft stunning greeting cards for various occasions? Look no further than the captivating world of mixed media art and the ingenious use of a masterboard. Whether you're celebrating birthdays, anniversaries, holidays, or simply wishing someone well, mastering the art of masterboard mixed media cards can help you produce unique, personalized creations.
What is a Masterboard?
A master board is a base made from layers of different materials and techniques, serving as the foundation for multiple cards or art pieces. It's a canvas that allows you to experiment with various mixed media elements like paints, inks, stamps, stencils, and textures. Once the masterboard is created, it can be cut, embellished, and customized to produce multiple unique cards.
you can see the product details below same time the similar dies whichever you have you can mix and match to do these techniques. THANK YOU FOR, SUBSCRIBING AND APPRECIATING. Feel free to share this post on social media using the share!
Materials You'll Need:
Sturdy Cardstock or Watercolor Paper: This will serve as the base for your masterboard.
Acrylic Paints or Ink Pads: Use a variety of colors to create a vibrant background.
Stamps and Stencils: These add texture and patterns to the masterboard.
Embellishments: Sequins, ribbons, washi tape, or any decorative items for added flair.
Markers or Pens: For detailing and adding personalized messages.
Adhesives: Glue, double-sided tape, or glue dots for assembling the cards.
Steps to Create a Masterboard:
Prepare the Base: Start by covering your cardstock or watercolor paper with a base layer of acrylic paint or ink. Experiment with colors, blending, or creating patterns using brushes, sponges, or even your fingers.
Add Texture and Patterns: Use stamps and stencils to create layers and depth on your masterboard. Play with different designs and colors to make it visually appealing.
Embellish: Introduce additional elements like sequins, ribbons, or washi tape to enhance the visual interest of the masterboard. This step allows for personalization and customization.
Let it Dry: Allow the masterboard to dry completely before proceeding. This ensures that your cards won’t get smudged or damaged during the cutting and assembly process.
Cut and Create: Once your masterboard is dry, cut it into smaller sections to fit your card sizes. These smaller sections will form the base for individual cards.
Assemble Your Cards: Attach the masterboard pieces to card bases, and then add any additional personal touches, messages, or embellishments.
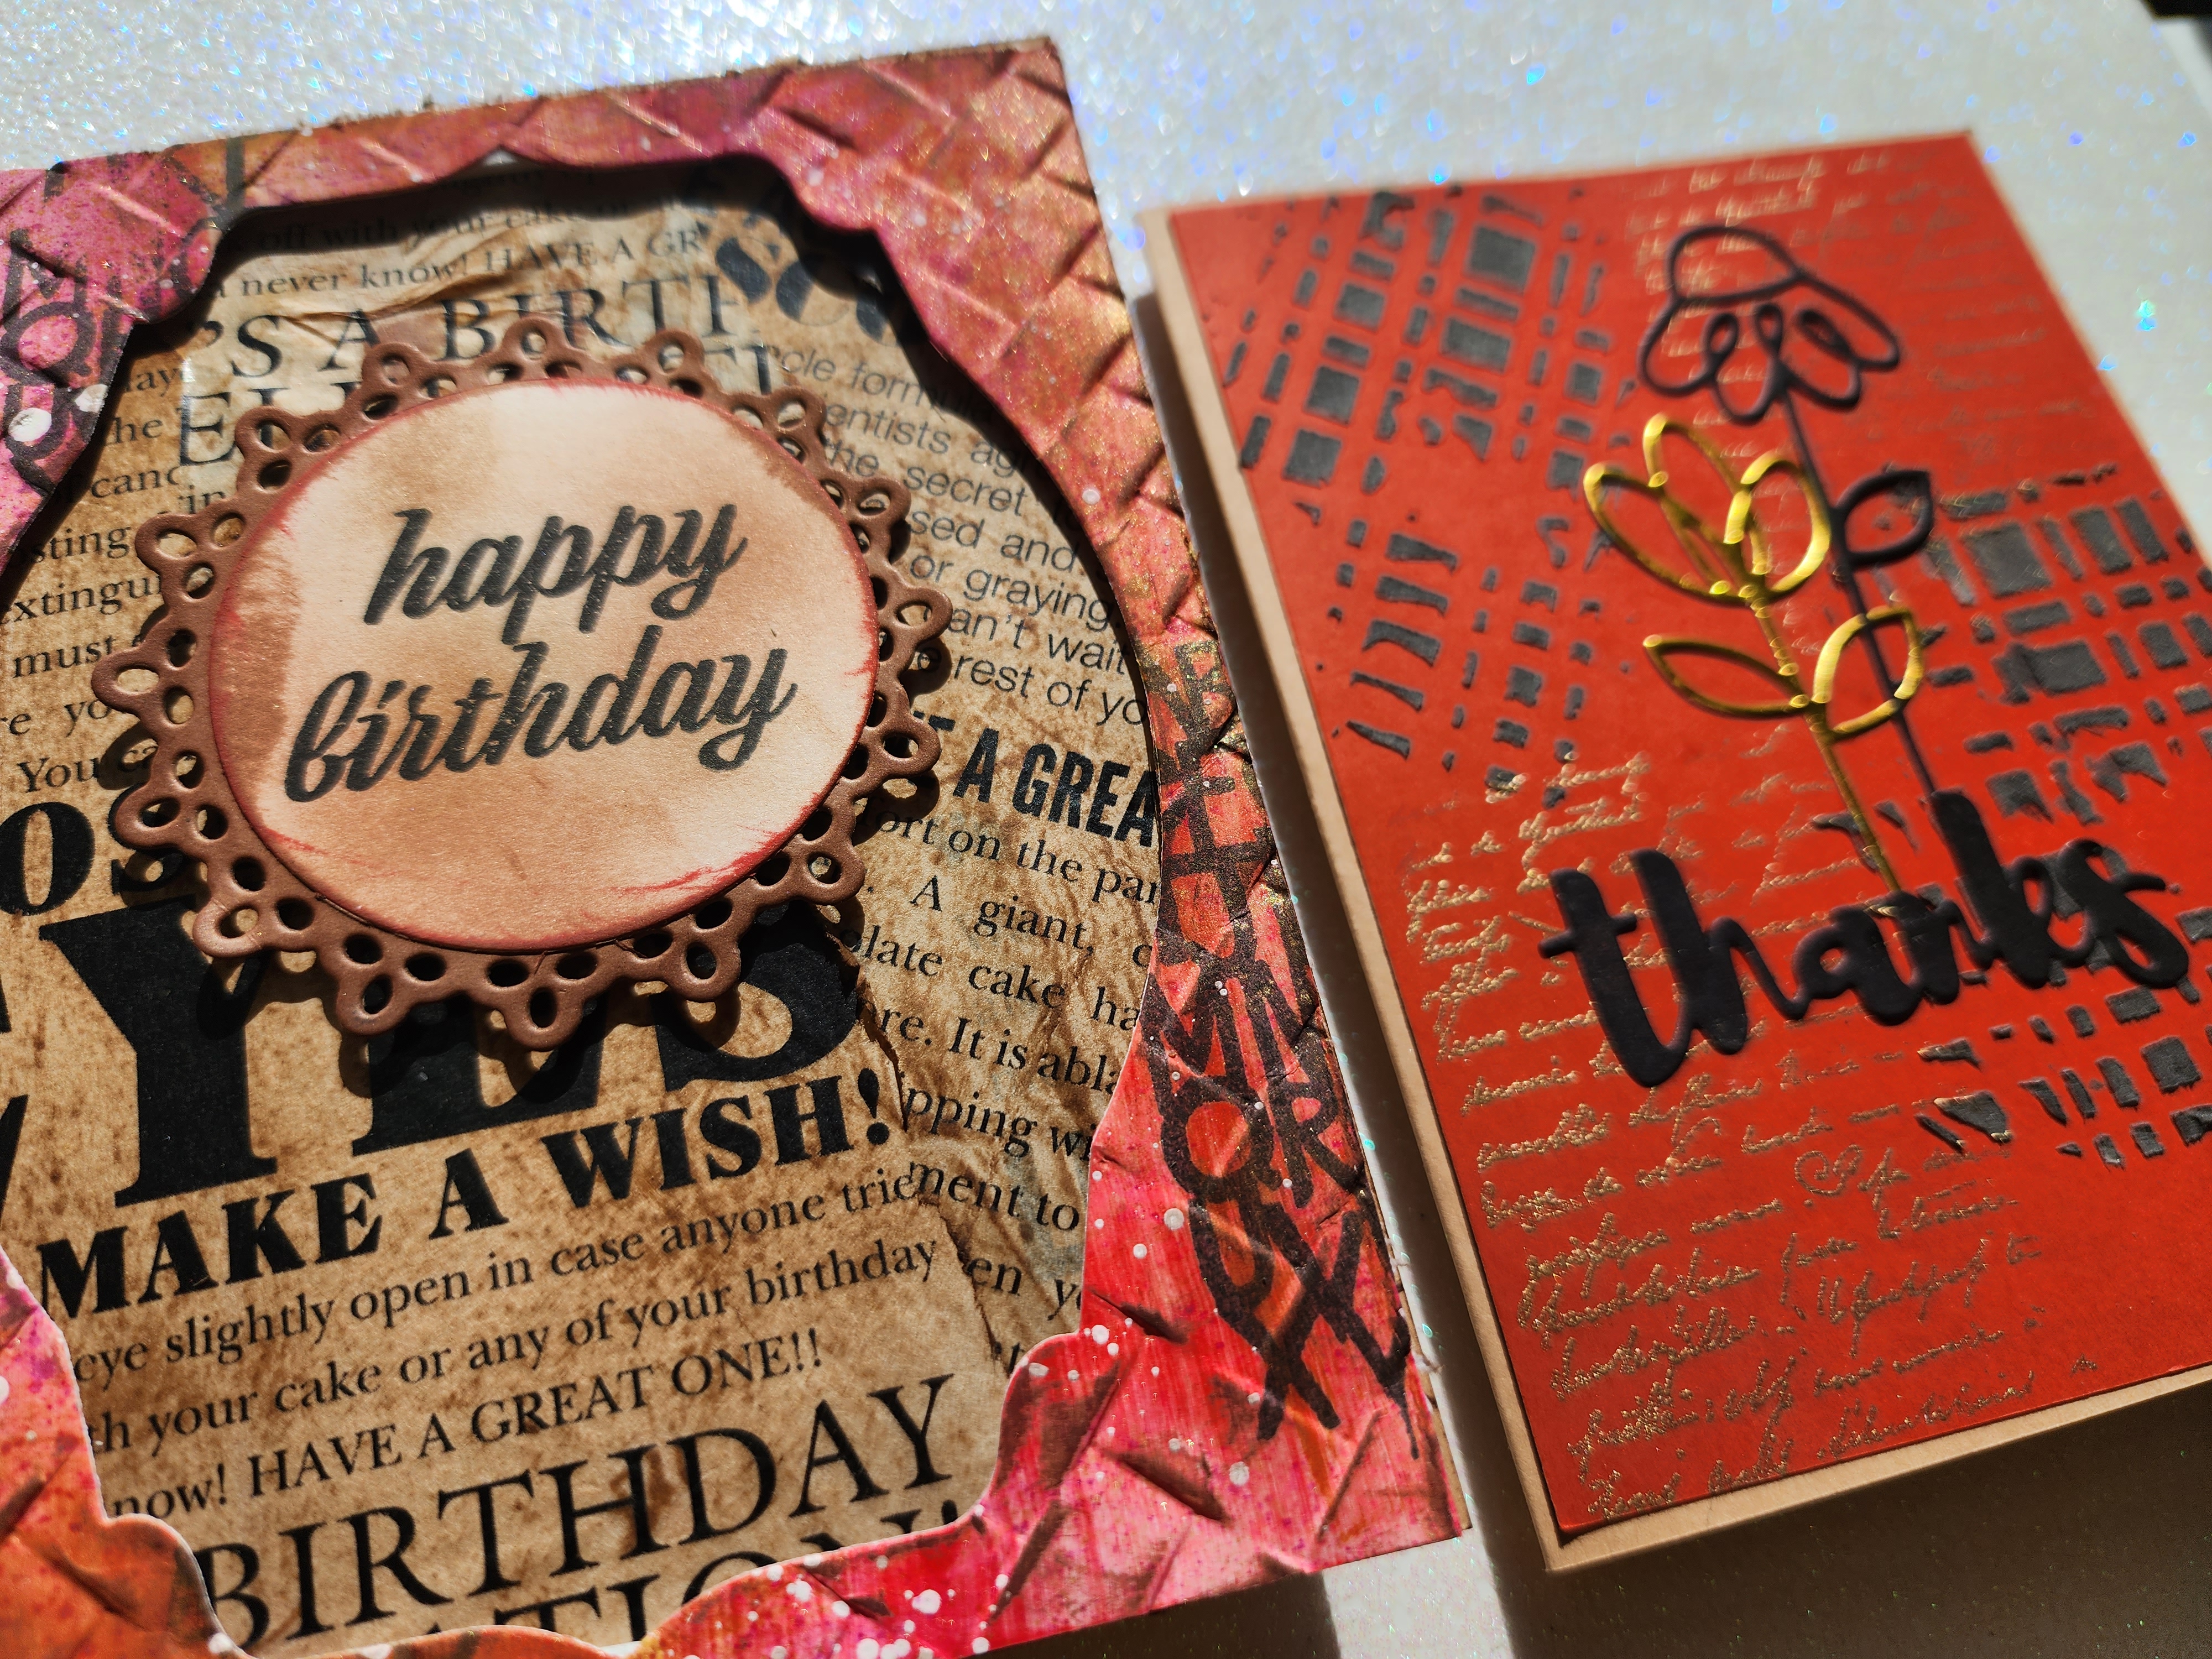
Creating mixed media cards using a masterboard allows for endless creativity. The beauty lies in the fact that each card produced will be unique despite originating from the same base.


Conclusion:
Masterboard mixed media cards are an exceptional way to express your creativity and thoughtfulness. Whether it's a birthday, holiday, or a simple note to say "thank you," these handmade cards carry a personal touch that's hard to replicate with store-bought options. Embrace the journey of exploration and experimentation in the world of mixed media art to create one-of-a-kind cards that will be cherished by your loved ones for years to come.
No comments:
Post a Comment