STEAP BY STEAP GELLI PRINTS
Creating Gelli prints is a fun and creative process that allows you to make unique, colorful, and textured prints. Here's a step-by-step guide to creating Gelli prints:
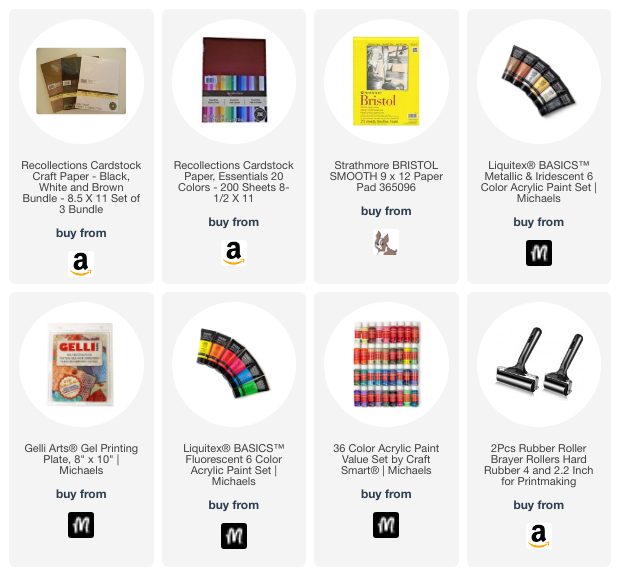
Materials You'll Need:
Gelli Plate: This is a reusable, gel-like printing plate.
Acrylic Paints: Various colors of acrylic paint.
Brayer: A roller used to spread paint evenly on the Gelli plate.
Paper: Use high-quality paper suitable for printmaking, such as printmaking paper or heavy cardstock.
Palette: For mixing and holding paint.
Stencils, Texture Tools, or Found Objects: These can be used to create interesting patterns and textures.
Apron or Old Clothes: Acrylic paint can be messy, so wear something you don't mind getting paint on.
Step 1: Set Up Your Workspace
Clear a clean, flat surface where you can work.
Lay down some old newspapers or a plastic sheet to protect your work surface.
Step 2: Prepare Your Paints
Squeeze small amounts of acrylic paint onto a palette. Use a variety of colors to create interesting prints.
You can mix colors on the palette to create custom shades.
Step 3: Roll Out the Paint
Use a brayer to roll a thin, even layer of paint onto your Gelli plate. Make sure the plate is completely covered with paint.
You can use one color or multiple colors at this stage, depending on your design.
Step 4: Add Texture
Now comes the fun part. Use stencils, texture tools, found objects, or your fingers to create patterns and texture on the paint-covered Gelli plate.
Press these objects onto the plate gently to transfer their texture to the paint.
Step 5: Make the Print
Quickly place a sheet of paper on top of the painted Gelli plate.
Press down evenly and firmly with your hands, ensuring that the paper makes good contact with the plate.
Carefully lift the paper to reveal your Gelli print.
Step 6: Reveal Your Print
You'll see the design you created on the Gelli plate transferred to the paper.
Admire your unique print, and allow it to dry.
Step 7: Clean the Gelli Plate
After making a few prints, clean the Gelli plate by wiping off the paint with a damp cloth or baby wipe.
You can reuse the plate for more prints.
Step 8: Experiment and Create More
Repeat the process with different colors, textures, and techniques to create a series of Gelli prints.
Experiment with layering prints and combining various techniques for even more creative results.
Creating Gelli prints is all about experimenting, having fun, and embracing the unexpected. There are no rules, so let your creativity flow and see where it takes you. Enjoy the process, and don't be afraid to try new things and explore different techniques to create stunning, one-of-a-kind prints.
No comments:
Post a Comment