Tuesday, May 14, 2024

Easy Watercolor Tag Tutorial: Learn How To Create Mesmerizing Flower Designs

  Easy Watercolor Tag Tutorial: Learn How To Create Mesmerizing Flower Designs

Creating watercolor tags adorned with flowers is a delightful way to add a personal and artistic touch to gifts, journals, or home decor. This tutorial will guide you through the process of making beautiful floral watercolor tags, perfect for any occasion. Let's get started and let your creativity bloom!


Materials You'll Need:

Before you begin, gather these essential materials:

  1. Watercolor Paper: Choose a good quality, thick paper that can handle water well.
  2. Watercolor Paints: A set of basic colors, including greens, reds, pinks, yellows, and purples.
  3. Brushes: A medium-sized round brush, a fine detail brush, and a flat brush.
  4. Water: For mixing and cleaning brushes.
  5. Palette: For mixing your watercolor paints.
  6. Paper Towels: To blot excess water and clean brushes.
  7. Tags: Pre-cut tags or you can cut your watercolor paper into tag shapes.
  8. Hole Punch: To create a hole for the string.
  9. String or Ribbon: To tie your tags.
  10. Pencil: For sketching your flower design lightly on the tags.
  11. Eraser: To erase pencil marks after painting, if needed.


Step-by-Step Tutorial:

Step 1: Prepare Your Workspace

Set up a clean and well-lit workspace. Arrange your materials within easy reach. Ensure you have a cup of water for rinsing your brushes and a paper towel for blotting.

Step 2: Choose Your Tag Shape and Size

Decide on the size and shape of your tags. Traditional tags are rectangular with a punched hole at the top, but you can also experiment with different shapes like circles, ovals, or even custom designs.

Step 3: Lightly Sketch Your Flower Design

Using a pencil, lightly sketch a simple flower design on your tag. Popular flower choices include roses, daisies, tulips, and cherry blossoms. Keep your sketch light to avoid visible pencil marks after painting.

Step 4: Wet Your Paper (Optional)

For a soft background effect, lightly wet the surface of your tag with clean water using your medium-sized brush. This step is optional but helps create a dreamy background for your flower.

Step 5: Apply the Base Colors

Start by applying the base colors of your flower petals and leaves. Use your round brush for the petals and a smaller brush for the leaves and stems. Begin with light washes of color and gradually build up intensity. Allow each layer to dry before adding the next to avoid muddy colors.

Step 6: Add Details and Depth

Once the base layer is dry, add more details to your flower. Use a fine detail brush to paint the veins of the petals, the texture of the leaves, and other intricate details. Add darker shades to the inner parts of the flower and lighter shades towards the edges to create depth and dimension.

Step 7: Experiment with Techniques

  • Wet-on-Wet: For a soft blend of colors, apply wet paint onto a wet surface.
  • Wet-on-Dry: For more defined edges, apply wet paint onto a dry surface.
  • Layering: Build up colors gradually by layering different shades.
  • Dry Brush: Use a dry brush to add texture and highlights.

Step 8: Create a Background (Optional)

If desired, create a background for your flower. Lightly wash the background with a soft, complementary color. Be careful not to overpower the flower design.

Step 9: Let It Dry Completely

Allow your tag to dry completely before handling it. This will prevent smudging and ensure the colors set properly.

Step 10: Add the Finishing Touches

Once your tag is dry, punch a hole at the top and thread a piece of string or ribbon through it. You can also write a message or add decorative elements with a fine-tip pen or marker.

Step 11: Seal Your Tag (Optional)

If you want to protect your watercolor design, you can spray a light coat of fixative or clear sealant. This step is optional but can help preserve your artwork.

Tips for Success:

  • Practice Patience: Watercolor painting can be unpredictable. Embrace the unexpected results and enjoy the process.
  • Less is More: Start with less paint and water. You can always add more layers, but it's harder to remove excess paint.
  • Experiment: Don’t be afraid to try different techniques and color combinations. Watercolor is all about experimentation and discovering your unique style.

Creating watercolor tags with flower designs is a fun and relaxing activity that allows you to express your creativity. These handmade floral tags will add a personal and artistic touch to any project, making your gifts and decor truly special. Happy painting!ou can see the product details below same time the similar dies whichever you have you can mix and match to do these techniques.

THANK YOU FOR, SUBSCRIBING AND APPRECIATING.


Feel free to share this post on social media using the share!

Follow me on InstagramFacebookPinterest, and YouTube,!

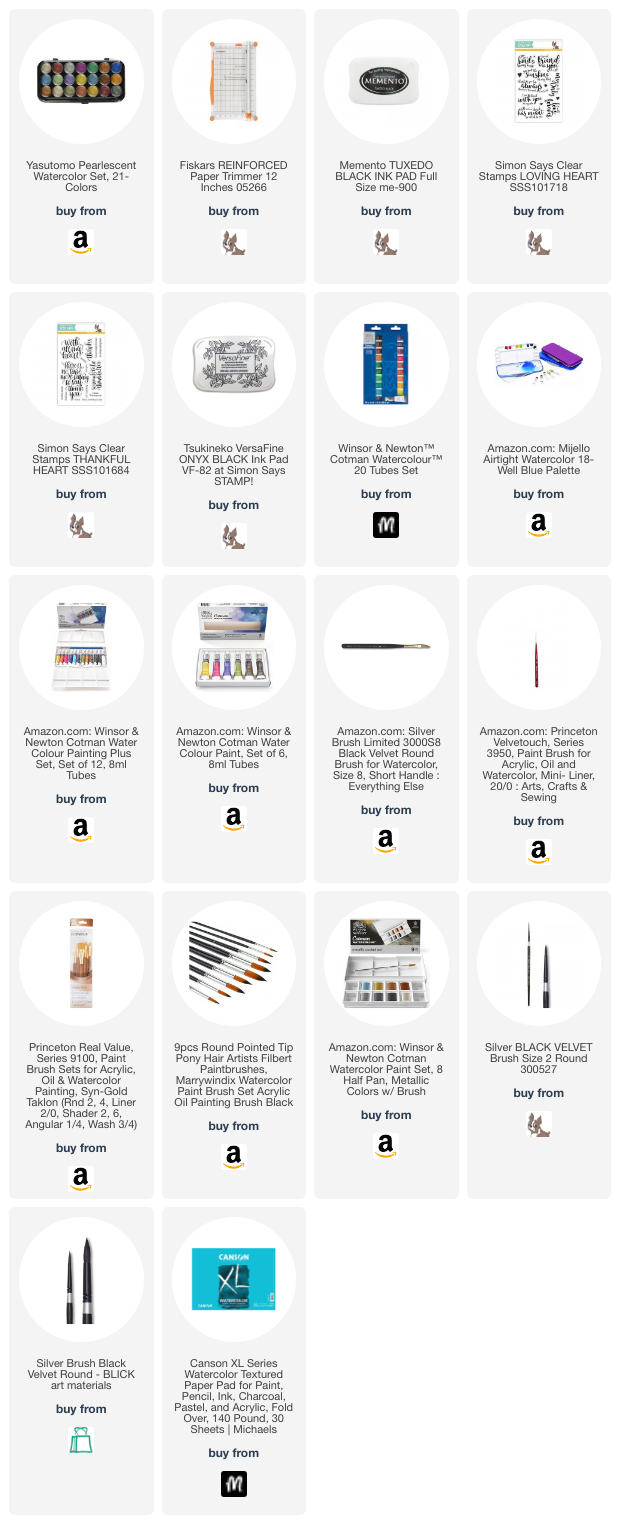
SUPPLIES


Wednesday, May 8, 2024

Create A Stunning Mixed Media Art Gift For Mom In No Time!


you can see the product details below same time the similar dies whichever you have you can mix and match to do these techniques.

THANK YOU FOR, SUBSCRIBING AND APPRECIATING.

Simon Says Stamp Wednesday Challenge Feel free to share this post on social media using the share!

Follow me on InstagramFacebookPinterest, and YouTube,!

SUPPLIES


Monday, May 6, 2024

Get Crafty: Wooden Block Stamping On Fabric And Paper For Creative Mixmedia Art


Introduction: Are you ready to embark on a journey of creativity and self-expression? Look no further than the enchanting world of wooden block stamping. This ancient technique has been revitalized in the modern age, offering a myriad of possibilities for mixed media artists. Whether you're a seasoned crafter or a curious beginner, wooden block stamping on fabric and paper opens the door to endless artistic exploration and innovation. 

Unleash Your Imagination: Wooden block stamping is more than just a craft—it's a form of artistic expression that invites you to unleash your imagination and create something truly unique. With a collection of wooden blocks adorned with intricate designs, fabric or paper as your canvas, and a palette of vibrant colors, the possibilities are limited only by your creativity.


 Fabric Exploration: Transform ordinary fabric into extraordinary works of art with wooden block stamping. Whether you're embellishing a plain cotton tote bag, adding flair to a simple scarf, or creating custom-designed textiles, wooden block stamping offers a versatile and accessible way to elevate your wardrobe and home decor. 


Paper Adventure: Take your paper crafts to the next level with wooden block stamping. From handmade greeting cards and one-of-a-kind stationery to mixed media art journals and collage masterpieces, wooden block stamping adds depth, texture, and personality to your paper creations. 


Experiment with different papers, colors, and stamp designs to discover your signature style and make a statement with your art. Mixed Media Magic: Blend the worlds of fabric and paper together in your mixed media art projects with wooden block stamping. Incorporate stamped fabric elements into your collages, layer stamped paper onto canvas backgrounds, or embellish your art journal pages with stamped motifs. The juxtaposition of textures and techniques adds visual interest and depth to your mixed media creations, allowing you to tell your story in a truly captivating way. 


Tips for Success: Experiment with different types of fabric and paper to discover which surfaces work best with wooden block stamping. Use a variety of paint mediums, such as fabric paint, acrylic paint, or ink pads, to achieve different effects and textures. Don't be afraid to mix and match stamp designs to create intricate patterns and compositions. Practice proper stamping techniques, such as applying even pressure and lifting the stamp straight up, to achieve crisp and clear impressions. Embrace imperfections and happy accidents as part of the creative process—sometimes the most unexpected outcomes lead to the most stunning results.


 Conclusion: Ready to embark on your wooden block stamping adventure? Whether you're creating wearable art, handmade gifts, or mixed media masterpieces, wooden block stamping on fabric and paper offers a world of possibilities for artistic exploration and self-expression. So gather your materials, unleash your imagination, and let your creativity soar as you dive into the captivating world of wooden block stamping. Happy crafting!

 you can see the product details below same time the similar dies whichever you have you can mix and match to do these techniques.

THANK YOU FOR, SUBSCRIBING AND APPRECIATING.

Simon Says Stamp Wednesday Challenge Feel free to share this post on social media using the share!

Follow me on InstagramFacebookPinterest, and YouTube,!

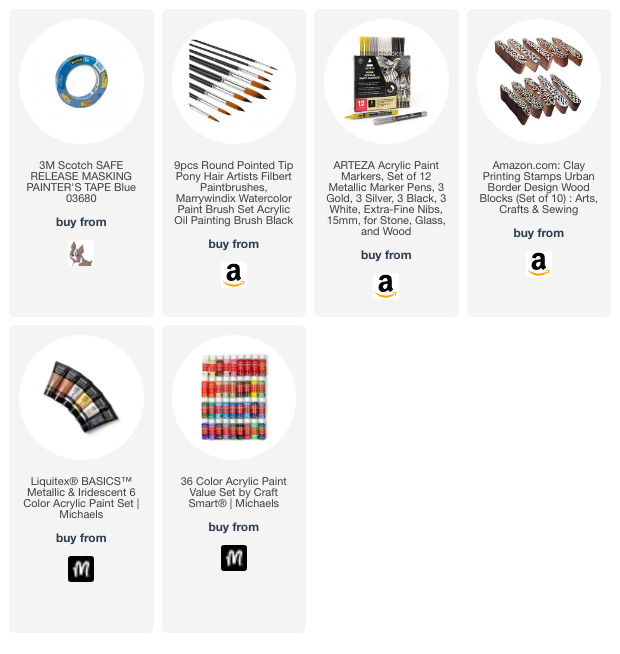
SUPPLIES