🧵 Stitching in Art Journal Pages: Adding Text and Words to Your Art
When words meet thread, something magical happens.
Incorporating stitching into your art journal isn't just about texture—it's about storytelling. It’s a beautiful way to slow down, reflect, and give your pages a deeply personal, handmade touch. And when you use stitches to add words or text, your art becomes even more expressive.
Why Stitch Words Into Your Art Journal?
Most of us are used to writing or painting words on our pages. But stitching? It adds another layer—both visually and emotionally. Each letter, formed stitch by stitch, invites mindfulness. It creates intimacy and intention.
Plus, it's tactile! You can feel the texture. See the shadows. Watch thread weave meaning into your background.
What You’ll Need:
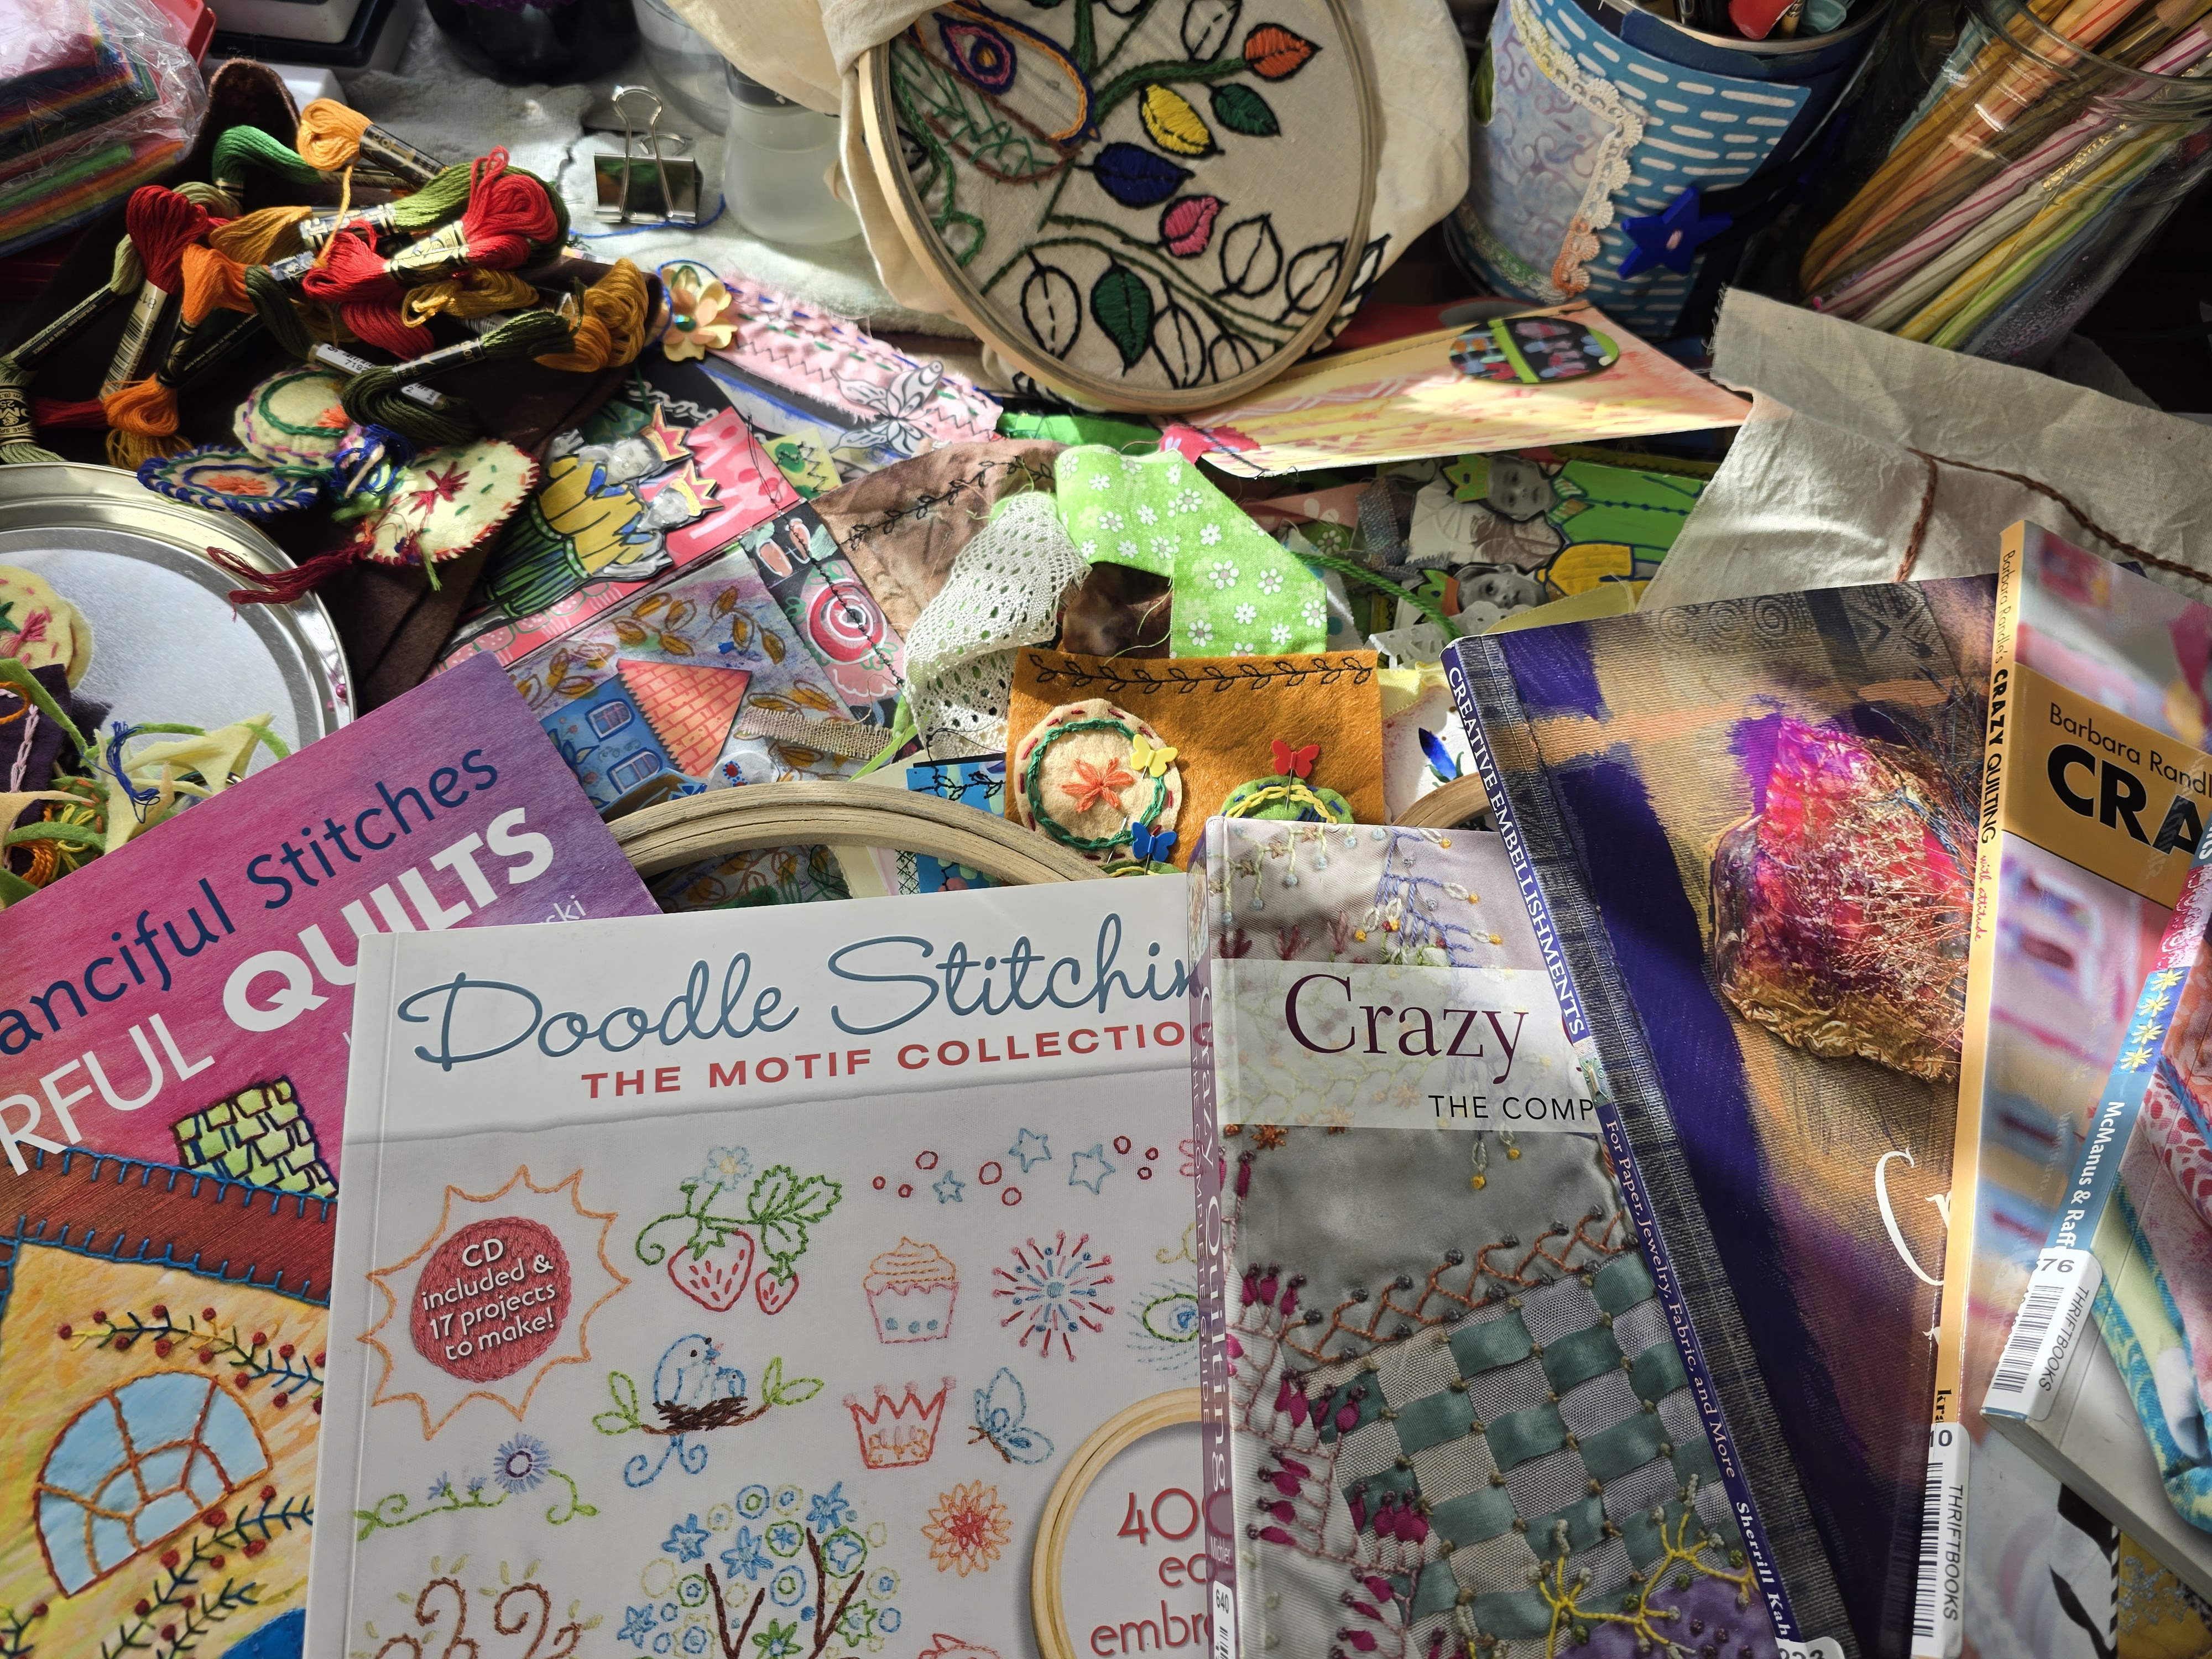
You don’t need fancy supplies to start stitching in your art journal. Just a few simple tools:
-
Needle (sharp enough for paper or fabric)
-
Embroidery thread or fine yarn
-
Awl or push pin (to pre-punch holes if working on thick paper)
-
Pencil (for sketching your word)
-
Fabric scraps (optional, for added texture)
-
Washi tape or fabric glue (to secure threads on the back)
Tip: Use lightweight paper or fabric layers if you're worried about tearing your journal pages.
How to Add Stitched Words to Your Pages
-
Choose Your Word
Pick a word that resonates with your page’s theme or your mood—like “breathe,” “hope,” or “grow.” You can also use short phrases or even stitched quotes! -
Sketch it Out
Lightly draw your word where you want it to appear on the page. Use cursive or block letters—whatever matches your style. -
Pre-Punch the Holes
Use an awl or push pin to make small holes along the lines of your letters. This makes stitching easier and keeps the paper from tearing. -
Start Stitching!
Thread your needle and start sewing through the holes. A simple backstitch works great for most words. Don’t worry about perfection—it’s all about expression. -
Secure the Thread
When finished, tape or glue down the thread ends on the back of the page so they stay put.
Ideas for Using Stitched Text
-
Highlight a quote that inspires you
-
Add a single word as the focal point
-
Stitch over fabric scraps for layered effects
-
Use thread color to match your theme or mood
A Slower, More Meaningful Process
Stitching words forces you to slow down, and that’s a good thing. It becomes a meditative practice. One letter at a time, your message unfolds—not just for the viewer, but for yourself.
You don’t need to be an expert in embroidery or sewing. Even the most basic stitches bring charm and character to your work. And over time, your confidence (and stitch vocabulary) will grow.