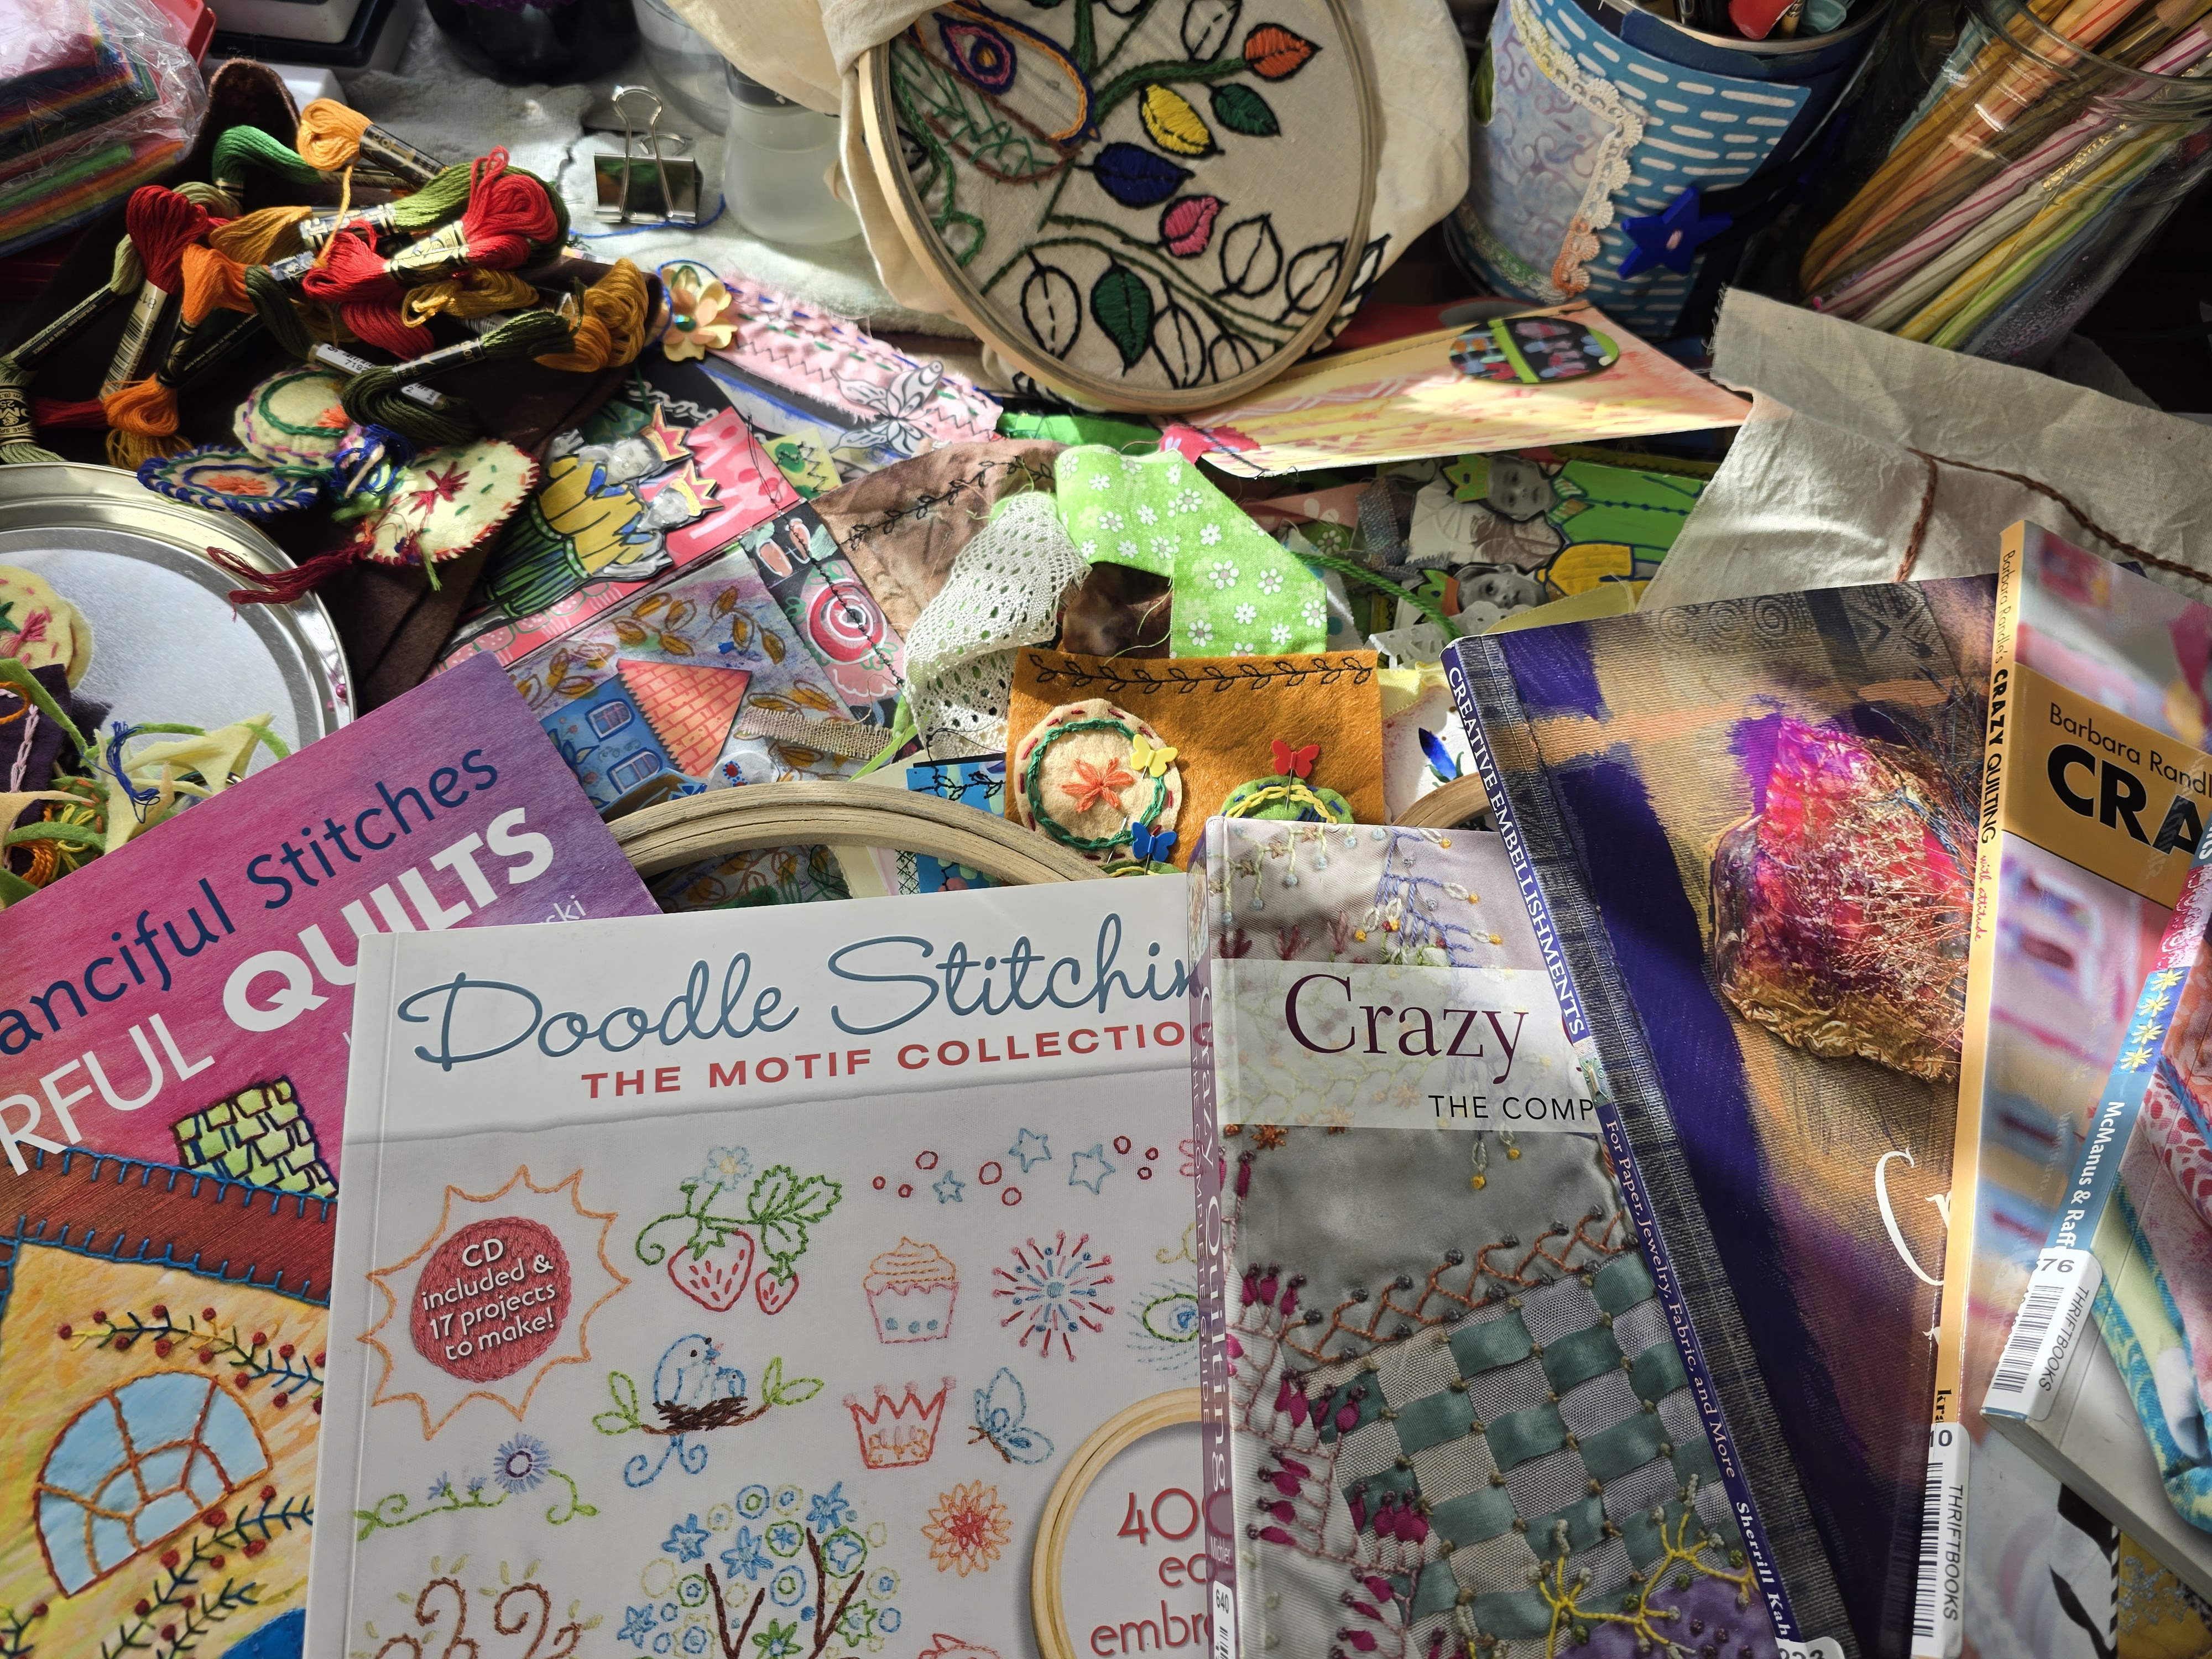
Monday, April 7, 2025

Make These Gorgeous Mixed Media Tags in Minutes


🎨 Make These Gorgeous Mixed Media Tags: A Simple & Joyful Creative Project

There’s something magical about turning bits and pieces—scraps, textures, old papers—into beautiful little works of art. That’s exactly what we’re doing today with mixed media tags!

Whether you’re new to mixed media or looking for a fun way to use up leftovers from your art table, this project is a joyful, low-pressure way to get creative.

Why Tags?

Tags are small, versatile, and just the right size to experiment without overwhelm. You can tuck them into junk journals, attach them to gifts, use them as bookmarks, or just collect them because they’re pretty!

What You’ll Need:

This is a great stash-busting project. Gather whatever you have on hand, like:

  • Old book pages or scrapbook paper

  • Paints (acrylics, watercolors—anything goes!)

  • Stamps, stencils, washi tape

  • Fabric or lace scraps

  • Glue, scissors, and a hole punch

Let’s Create:

  1. Start with a base – Cut out a tag shape from sturdy paper or recycled packaging.

  2. Layer it up – Add torn paper, paint, stamping, or texture paste. Play with color and shape.

  3. Add details – Think stitching, buttons, or a small quote. The charm is in the little things.

  4. Finish it off – Punch a hole at the top and thread a ribbon or twine through.

The best part? There’s no right or wrong. Each tag becomes its own little story.

Creative Tips:

✨ Try a theme—like vintage, floral, or seasonal.
✨ Use your tags to test new techniques or color combos.
✨ Make a bunch and bundle them as a handmade gift.


Want to see the full process in action?
👉 Watch the video tutorial here!


Final Thoughts:

Mixed media tags are a quick, satisfying creative escape, perfect for those moments when you just want to make something. So pull out your scraps, pour a cup of tea, and let your hands do the magic.

Tag me if you try this—I’d love to see what you create! 💖

#MixedMedia #CreativeReuse #DIYTags #JunkJournaling #MixedMediaArt #ScrappyCrafts


Sunday, April 6, 2025

I Created Amazing Mixed Media Collage Art with Fodder School 4


I Created Amazing MixMedia Collage Art with Fodder School 4

If you've ever found yourself lost in the joy of layering paper, splashing paint, and creating something from scraps and textures, then you’ll know the thrill I felt diving into my latest mixed-media collage project with Fodder School 4.


Want to see the full process in action?
👉 Watch the video tutorial here!


What is Fodder School?

Fodder School is a year-long, online mixed media art course that brings together inspiring teachers from around the world. Each month, a new instructor shares their process for creating collage fodder and a finished project. Fodder School 4 (this year’s edition) is packed with fresh ideas, techniques, and playful prompts that have been pushing me creatively in all the best ways.

Whether you're new to mixed media or a seasoned artist, there’s something magical about being part of this global community of collage lovers. The best part? There’s no “right” way to do it—just endless opportunities to experiment and explore.

My Creative Process

For this particular project, I started by making my own collage fodder:

  • painted papers

  • stamped textures

  • vintage book pages

  • tissue paper layers

  • scraps from past projects

I loved mixing up materials—some handmade, some found—to create a truly personal collection of collage elements. There’s something so satisfying about turning leftover bits into something beautiful and cohesive.

Once I had my pile of fodder ready, I moved on to creating a layered background using acrylics and gesso. I followed the lead of the month’s Fodder School teacher, adapting their techniques in my own way. I played with color, placement, and texture—trusting the process and letting the piece evolve organically.

What I Learned

One of the biggest lessons I’ve learned from Fodder School is that there’s beauty in imperfection. It’s easy to get caught up in trying to make everything look "right," but collage is all about happy accidents and letting the materials guide you.

Fodder School 4 has also taught me to slow down and really enjoy the making—every tear, every brushstroke, every decision feels like an act of creativity.

Final Thoughts

Creating this mixed media collage has been such a joyful experience. It reminded me why I love this kind of art: it’s expressive, intuitive, and deeply satisfying. If you're curious about mixed media or looking for a community to grow your creative practice, I highly recommend checking out Fodder School.

Are you part of Fodder School too? Have you tried your hand at mixed media collage? I’d love to hear your thoughts in the comments!

Until next time—keep creating, keep exploring, and don’t be afraid to make a beautiful mess. 🎨

Thursday, March 20, 2025

100 days of learning from other artist

100 days of learning from other artists


That’s a fantastic idea! 100 Days of Learning from Other Artists can help you explore different styles, techniques, and inspirations. Here’s how you can structure it:

Approach & Ideas

  1. Pick 100 Artists – Study a different artist each day (classic, modern, or contemporary).
  2. Focus on a Style or Medium – Explore artists in a specific area like surrealism, abstract, or mixed media.
  3. Recreate & Adapt – Try replicating techniques or creating inspired works in your own way.
  4. Mix & Match – Combine elements from different artists to develop your unique voice.
  5. Write Reflections – Keep notes on what you learn about each artist, their process, and what resonates with you.

Ways to Organize It

  • By Art Movement (Impressionism, Expressionism, Cubism, etc.)
  • By Medium (Collage, Acrylic, Ink, Digital, etc.)
  • By Region (Japanese, African, European, etc.)
  • By Era (Old Masters, 20th-century icons, contemporary artists)

Would you like help creating a list of artists to study, or do you have some in mind already? 😊


Here’s a curated list of 100 artists across different styles, mediums, and time periods for your 100-Day Learning Project! You can explore their works, techniques, and inspirations each day.

Classic Masters (Pre-1900s) – Foundations of Art

  1. Leonardo da Vinci (Renaissance)
  2. Michelangelo (Sculpture & Painting)
  3. Rembrandt (Baroque, Light & Shadow)
  4. Johannes Vermeer (Realism, Light Effects)
  1. Francisco Goya (Romanticism, Dark Themes)
  2. J.M.W. Turner (Landscape & Atmosphere)
  3. Katsushika Hokusai (Japanese Woodblock Prints)
  4. Claude Monet (Impressionism)
  5. Edgar Degas (Pastels & Movement)
  6. Vincent van Gogh (Expressive Brushwork)

Modern Masters (1900s-1950s) – Breaking Boundaries

  1. Pablo Picasso (Cubism)
  2. Henri Matisse (Color & Cutouts)
  3. Wassily Kandinsky (Abstract Expressionism)
  4. Georgia O’Keeffe (Nature & Abstraction)
  5. Frida Kahlo (Surrealism & Self-Expression)
  6. Salvador Dalí (Surrealism & Dreams)
  7. Piet Mondrian (Minimalism & Geometry)
  8. Marc Chagall (Fantasy & Color)
  9. Paul Klee (Playful Abstraction)
  10. Diego Rivera (Murals & Political Art)

Abstract & Expressionist Artists (1950s-1970s)

  1. Jackson Pollock (Action Painting)
  2. Mark Rothko (Color Field Painting)
  3. Willem de Kooning (Gestural Abstraction)
  4. Joan Miró (Surrealism & Playfulness)
  5. Helen Frankenthaler (Color Staining)
  6. Yayoi Kusama (Patterns & Infinity)
  7. Robert Rauschenberg (Mixed Media)
  8. Jasper Johns (Pop & Symbolism)
  9. Anni Albers (Textile Art & Bauhaus)
  10. Cy Twombly (Expressive Mark-Making)

Pop Art & Contemporary Innovators (1970s-2000s)

  1. Andy Warhol (Pop Art & Repetition)
  2. Roy Lichtenstein (Comic-Style Art)
  3. Keith Haring (Graffiti & Symbolism)
  4. Jean-Michel Basquiat (Street Art & Expressionism)
  5. David Hockney (Digital & Colorful Landscapes)
  6. Kara Walker (Silhouettes & History)
  7. Banksy (Street Art & Social Messages)
  8. Shepard Fairey (Graphic Design & Activism)
  9. Takashi Murakami (Superflat & Pop Culture)
  10. Ai Weiwei (Conceptual & Political Art)

Mixed Media & Experimental Artists

  1. Joseph Cornell (Assemblage & Boxes)
  2. Louise Nevelson (Sculptural Collage)
  3. Betye Saar (Assemblage & Storytelling)
  4. Lynda Benglis (Sculptural Paint)
  5. Julie Mehretu (Layered Abstract Art)
  6. El Anatsui (Recycled Material Art)
  7. Mark Bradford (Urban Layers & Textures)
  8. Wangechi Mutu (Collage & Surrealism)
  9. Jenny Holzer (Text-Based Art)
  10. Barbara Kruger (Graphic Text & Feminism)

Contemporary Artists (2000s-Present)

  1. Njideka Akunyili Crosby (Collage & Realism)
  2. Tarsila do Amaral (Brazilian Modernism)
  3. Adrian Ghenie (Painterly Realism)
  4. Cecily Brown (Gestural Abstraction)
  5. Toyin Ojih Odutola (Portraiture & Texture)
  6. Amy Sherald (Bold Color Portraits)
  7. Kehinde Wiley (Baroque-Inspired Portraits)
  8. Rashid Johnson (Mixed Media & Identity)
  9. Lisa Congdon (Illustration & Patterns)
  10. Kadir Nelson (Illustration & Historical Themes)

Artists in Different Mediums

  1. David Carson (Graphic Design)
  2. Saul Bass (Film & Typography)
  3. William Kentridge (Charcoal Animation)
  4. Olafur Eliasson (Light & Space Art)
  5. James Turrell (Color & Light Installations)
  6. Nick Cave (Wearable Art & Sound Suits)
  7. Do Ho Suh (Fabric Architecture)
  8. Yayoi Kusama (Infinity Rooms & Polka Dots)
  9. Cindy Sherman (Photography & Identity)
  10. Annie Leibovitz (Portrait Photography)

Illustrators & Contemporary Creatives

  1. Hayao Miyazaki (Animation & Storytelling)
  2. Beatrix Potter (Watercolor & Illustration)
  3. Maurice Sendak (Children’s Book Art)
  4. Quentin Blake (Loose Sketchy Illustration)
  5. Shaun Tan (Surreal Illustration)
  6. Lisa Hanawalt (Humorous Illustration)
  7. Christoph Niemann (Minimalist & Playful Art)
  8. Yuko Shimizu (Japanese & American Illustration)
  9. Oliver Jeffers (Whimsical Painting)
  10. Pascal Campion (Digital Illustration & Mood)

Artists Exploring Culture & Identity

  1. Faith Ringgold (Story Quilts)
  2. Romare Bearden (Collage & Jazz Influence)
  3. Jacob Lawrence (Harlem Renaissance)
  4. Amy Cutler (Narrative & Folk Art)
  5. Ana Mendieta (Earth & Feminist Art)
  6. Hung Liu (Immigration & Memory)
  7. Kara Walker (Silhouette Narratives)
  8. Zanele Muholi (Photography & Identity)
  9. Guadalupe Maravilla (Healing Art)
  10. Ebony G. Patterson (Mixed Media & Caribbean Influence)

Experimental & Digital Artists

  1. Refik Anadol (AI & Digital Art)
  2. Beeple (3D & NFT Art)
  3. Sougwen Chung (AI & Human Collaboration)
  4. Tishk Barzanji (Digital Surrealism)
  5. Justin Maller (Digital Illustration)
  6. Mónica Rizzolli (Generative Art)
  7. Rafael Lozano-Hemmer (Interactive Installations)
  8. Daniel Arsham (Sculptural Erosion)
  9. Marina Abramović (Performance Art)
  10. JR (Large-Scale Social Photography)

How to Use This List

  • Pick one artist per day and study their work, technique, and themes.
  • Try a small artwork inspired by their style or method.
  • Journal your thoughts on what you learned and how it influenced your creativity.
  • Mix media techniques from different artists to develop your unique style.

Would you like a structured plan (weekly themes, specific exercises, etc.), or do you prefer exploring freely? 😊

#100DayProject #CreativeLeftovers #FinishWhatYouStart #ArtChallenge #MixedMediaArt #UnfinishedToFinished #CreativeProcess #DailyArt #ArtJourney #MakeArtEveryDay #ReuseRecycleCreate #ArtGoals #Inspiration #SketchbookChallenge #DIYArt #UpcycleArt #CreativityEveryday

Happy creating, and don’t forget to let your imagination grow! 🍄✨

Follow me on InstagramFacebookPinterest, and YouTube,

I get asked a lot about where to purchase the supplies I use in my videos and blog posts. I list all the supplies I use at the end of my posts (below) 


Thursday, March 6, 2025

Creating a learning path for studying art (or any subject) on the internet and through other study platforms can be structured and personalized.

 Creating a learning path for studying art (or any subject) on the internet and through other study platforms can be structured and personalized. Here’s a step-by-step guide to help you set one up:

1. Define Your Goals

  • What do you want to learn?
    Be specific about the art techniques, styles, or artists you’re most interested in.
  • What’s your end goal?
    Do you want to create a portfolio, experiment with mixed media, or learn a new technique?

2. Break Down Your Learning into Modules

Structure your learning path into manageable chunks. For example:

Module 1: Basics of Art

  • Learn about different art styles (e.g., realism, impressionism, abstract).
  • Study basic techniques (drawing, painting, shading).

Module 2: Mixed Media Exploration

  • Explore different materials and how they work together.
  • Study artists who specialize in mixed media.

Module 3: Advanced Techniques

  • Learn about texture, layering, and working with multiple mediums.
  • Follow tutorials on blending traditional and digital tools.

3. Identify Learning Platforms

Choose a mix of free and paid platforms to ensure variety and depth:

  • Free Platforms:

    • YouTube: Great for free tutorials and learning from other artists. Channels like The Art Sherpa or Proko are excellent for mixed media and basic techniques.
    • Skillshare (Free Trial): Access tons of courses on different mediums. Look for mixed media, digital art, or experimental classes.
    • Udemy: Offers structured art courses with varying levels.
    • Coursera: Offers courses from universities and institutions (sometimes free).
    • Pinterest/Instagram: Great for inspiration and discovering techniques.
  • Paid Platforms:

    • Domestika: Creative courses for all skill levels, with many focusing on mixed media and digital art.
    • The Virtual Instructor: Offers a comprehensive range of tutorials for different art forms.
    • ArtStation: A community for digital artists with online courses.
    • MasterClass: Learn from industry professionals (e.g., Annie Leibovitz, Jeff Koons).

4. Create a Weekly Learning Schedule

Allocate time for each module and stick to a routine:

  • Week 1-2: Basic art fundamentals (sketching, color theory).
  • Week 3-4: Exploring mixed media techniques (paper, fabric, acrylic, etc.).
  • Week 5-6: Study specific artists whose style you want to learn (e.g., Picasso for cubism, Jackson Pollock for abstract).
  • Week 7-8: Digital tools and mixed media (try apps like Procreate or Photoshop alongside traditional methods).

5. Practice & Create Daily

Allocate time each day to create. Practice what you learn every day, whether through quick sketches, daily art challenges, or mixed media experiments.

6. Reflect & Track Progress

  • Keep a learning journal: Document your lessons, techniques learned, and projects created.
  • Create a portfolio: Upload your work on platforms like Behance, Instagram, or personal websites.

7. Engage with Communities

Join online communities for feedback, inspiration, and support.

  • Reddit: Subreddits like r/learnart or r/ArtCrit can provide feedback.
  • Discord groups: Many art communities are on Discord, where you can join challenges, get advice, and connect with other learners.

8. Review and Adjust Your Path

After 30, 60, or 90 days, review your progress and adjust your learning path based on new interests, goals, or challenges.

By creating this personalized learning path, you can make consistent progress and stay motivated as you explore the world of art! 🎨💻 Do you have specific platforms or resources you'd like to focus on first?

Creating a learning path for internet resources and study platforms is a great way to structure your self-education. Here’s a step-by-step approach to building a comprehensive and effective learning plan:

1. Define Your Goals

Before you start, it's important to clarify what you want to achieve:

  • Skill acquisition: Do you want to master a particular skill (e.g., digital art, coding, graphic design)?
  • Certification: Are you aiming for a certificate or a specific level of proficiency?
  • Project-based learning: Do you want to learn something specific that you can apply to a project (e.g., mixed media art, writing, photography)?

2. Break Down Your Learning Path

Identify key areas of knowledge or skills within your interest. Break them down into smaller, manageable chunks. For example, if you’re learning mixed media art, you might break it down like this:

  • Basics of drawing & sketching
  • Collage techniques
  • Color theory & painting basics
  • Layering and texture
  • Advanced mixed media techniques
  • Creating a mixed media project

3. Identify the Best Learning Platforms

Choose online platforms where you can find courses, tutorials, and resources. Here are some great options for various subjects:

General Learning Platforms

  • Coursera – Offers professional-level courses with certifications.
  • Udemy – Wide range of affordable courses on almost every subject.
  • LinkedIn Learning – Professional courses, ideal for career advancement.
  • Skillshare – Focuses on creative skills, perfect for art, design, photography, etc.

Specific Art & Creative Learning Platforms

  • Domestika – Focused on creative courses in art, design, illustration, and photography.
  • The Great Courses – Offers college-level courses on various subjects, including art history.
  • YouTube – Free tutorials on nearly every art technique and software. Channels like Proko for drawing and design or Jazza for digital art.
  • Drawabox – Structured courses for learning drawing fundamentals.
  • ArtStation Learning – Great for digital art and 3D modeling.

Online Communities for Feedback & Inspiration

  • Reddit (subreddits like r/Art, r/ArtistLounge, or r/learnart)
  • Behance – Portfolio and creative community with tutorials.
  • DeviantArt – Share your work and learn from others.

4. Create a Study Schedule

Map out how much time you can dedicate each day/week. Ensure that your schedule includes:

  • Study sessions (watching tutorials, taking courses, reading articles)
  • Practice time (putting your learning into action with projects, sketches, etc.)
  • Review and reflection (assessing progress, identifying areas to improve)

Tip: Set specific times for these sessions (e.g., 1 hour in the morning for theory, 1 hour in the evening for practice). Make sure it fits into your lifestyle.

5. Track Progress & Adjust

To stay motivated and see progress, track your learning:

  • Create a journal or digital document where you track what you’ve learned each day/week.
  • Set small milestones (e.g., completing a course module or finishing a project).
  • Review & reflect at regular intervals to adjust your plan as needed.

6. Engage with the Learning Community

Engagement can help reinforce learning and provide support:

  • Join forums or online groups for feedback (e.g., Facebook groups, Discord communities).
  • Collaborate on projects or participate in challenges to test your skills.
  • Attend webinars or live Q&A sessions hosted by platforms (Skillshare, Coursera, etc.).

7. Experiment with Different Learning Styles

People learn in different ways. You can experiment with:

  • Video courses for visual learning.
  • Text-based learning (eBooks, articles, written tutorials).
  • Hands-on practice (project-based learning, challenges).
  • Discussion & feedback (online critiques, group projects).

8. Balance Depth & Breadth

While it's important to explore multiple sources, you should aim for depth in key areas to become proficient. For example:

  • Take one or two in-depth courses on a specific technique.
  • Supplement that with related resources (books, tutorials, forums) for broader context.

Example Learning Path for Mixed Media Art

  1. Week 1-4: Foundations of drawing and sketching (learn basic sketching techniques, experiment with pencils and pens).
  2. Week 5-6: Introduction to color theory and painting basics (focus on watercolors and acrylics).
  3. Week 7-10: Explore collage techniques and materials (cutting, pasting, and integrating different textures).
  4. Week 11-12: Advanced mixed media techniques (layering, texture building, incorporating 3D elements).
  5. Week 13-14: Project-based learning: Create a final mixed media art piece (from concept to execution).
  6. Week 15-16: Review, share, and seek feedback from the art community. Reflect and plan next steps.

Would you like help customizing a learning path based on a specific topic or platform? Let me know! 😊

My journey on how I learned to draw face


My Journey: How I Learned to Draw Faces 🎨

Drawing faces has always fascinated me. There’s something magical about capturing emotions, expressions, and personality on paper. But when I first started, it felt impossible—eyes were uneven, noses looked strange, and proportions were all over the place. If you’ve ever struggled with drawing faces, trust me, I’ve been there too. In this post, I’ll share my journey, the struggles I faced, and the steps that helped me improve.


The Beginning: Where I Started

Like many artists, I began by doodling faces in my notebooks. I had no idea about proportions or structure, so my sketches looked cartoonish and inconsistent. I tried copying from photos, but I often got frustrated when things didn’t turn out the way I imagined.

At one point, I almost gave up. But then I realized—drawing is a skill that can be learned with practice and patience. So, I decided to commit to improving.


The Learning Process

1. Understanding Basic Proportions

One of the biggest breakthroughs for me was learning the basic structure of the face. I discovered the Loomis method, which uses a simple sphere and guidelines to build the head. This helped me place features more accurately instead of guessing where things should go.

2. Studying Facial Features Individually

Instead of trying to draw a complete face all at once, I broke it down:

  • Eyes: I practiced different eye shapes and expressions. I learned that the upper eyelid is usually darker and that small details like eyelashes and reflections make a huge difference.

  • Noses: Instead of outlining the nose, I focused on shading to create depth.

  • Lips: Understanding how light hits the lips helped me make them look more realistic.

  • Ears: Honestly, ears were tricky, but breaking them into simple shapes made them easier to draw.


3. Observing and Sketching Daily

I started sketching faces every day, using references from photos, movies, and even people around me. I also studied how light affects the face—shadows and highlights can completely change the mood of a portrait.

4. Learning from Other Artists

Watching tutorials and analyzing different art styles helped me figure out what I liked. Some artists focused on realism, while others had a more stylized approach. I experimented with different techniques until I found a style that felt natural to me.

Overcoming Challenges

There were times when I felt stuck, like my drawings weren’t improving. Here’s what helped me push through:

  • Comparing progress: Looking back at my old sketches reminded me how far I had come.

  • Experimenting with different mediums: Trying digital art, charcoal, and watercolor gave me fresh perspectives.

  • Taking breaks: Stepping away from my art and coming back later helped me see mistakes more clearly.

Where I Am Now

I’m still learning, and that’s the beauty of art—it’s a continuous journey. I’m now more confident in drawing faces, but I also know there’s always more to explore. If you’re struggling with drawing faces, don’t give up! You'll see improvement with practice, patience, and the right techniques.

Have you tried drawing faces before? What challenges have you faced? Let’s share our experiences in the comments!


  Happy creating, and don’t forget to let your imagination grow! 🍄✨

Follow me on InstagramFacebookPinterest, and YouTube

I get asked a lot about where to purchase the supplies I use in my videos and blog posts. I list all the supplies I use at the end of my posts (below) 

SUPPLIES